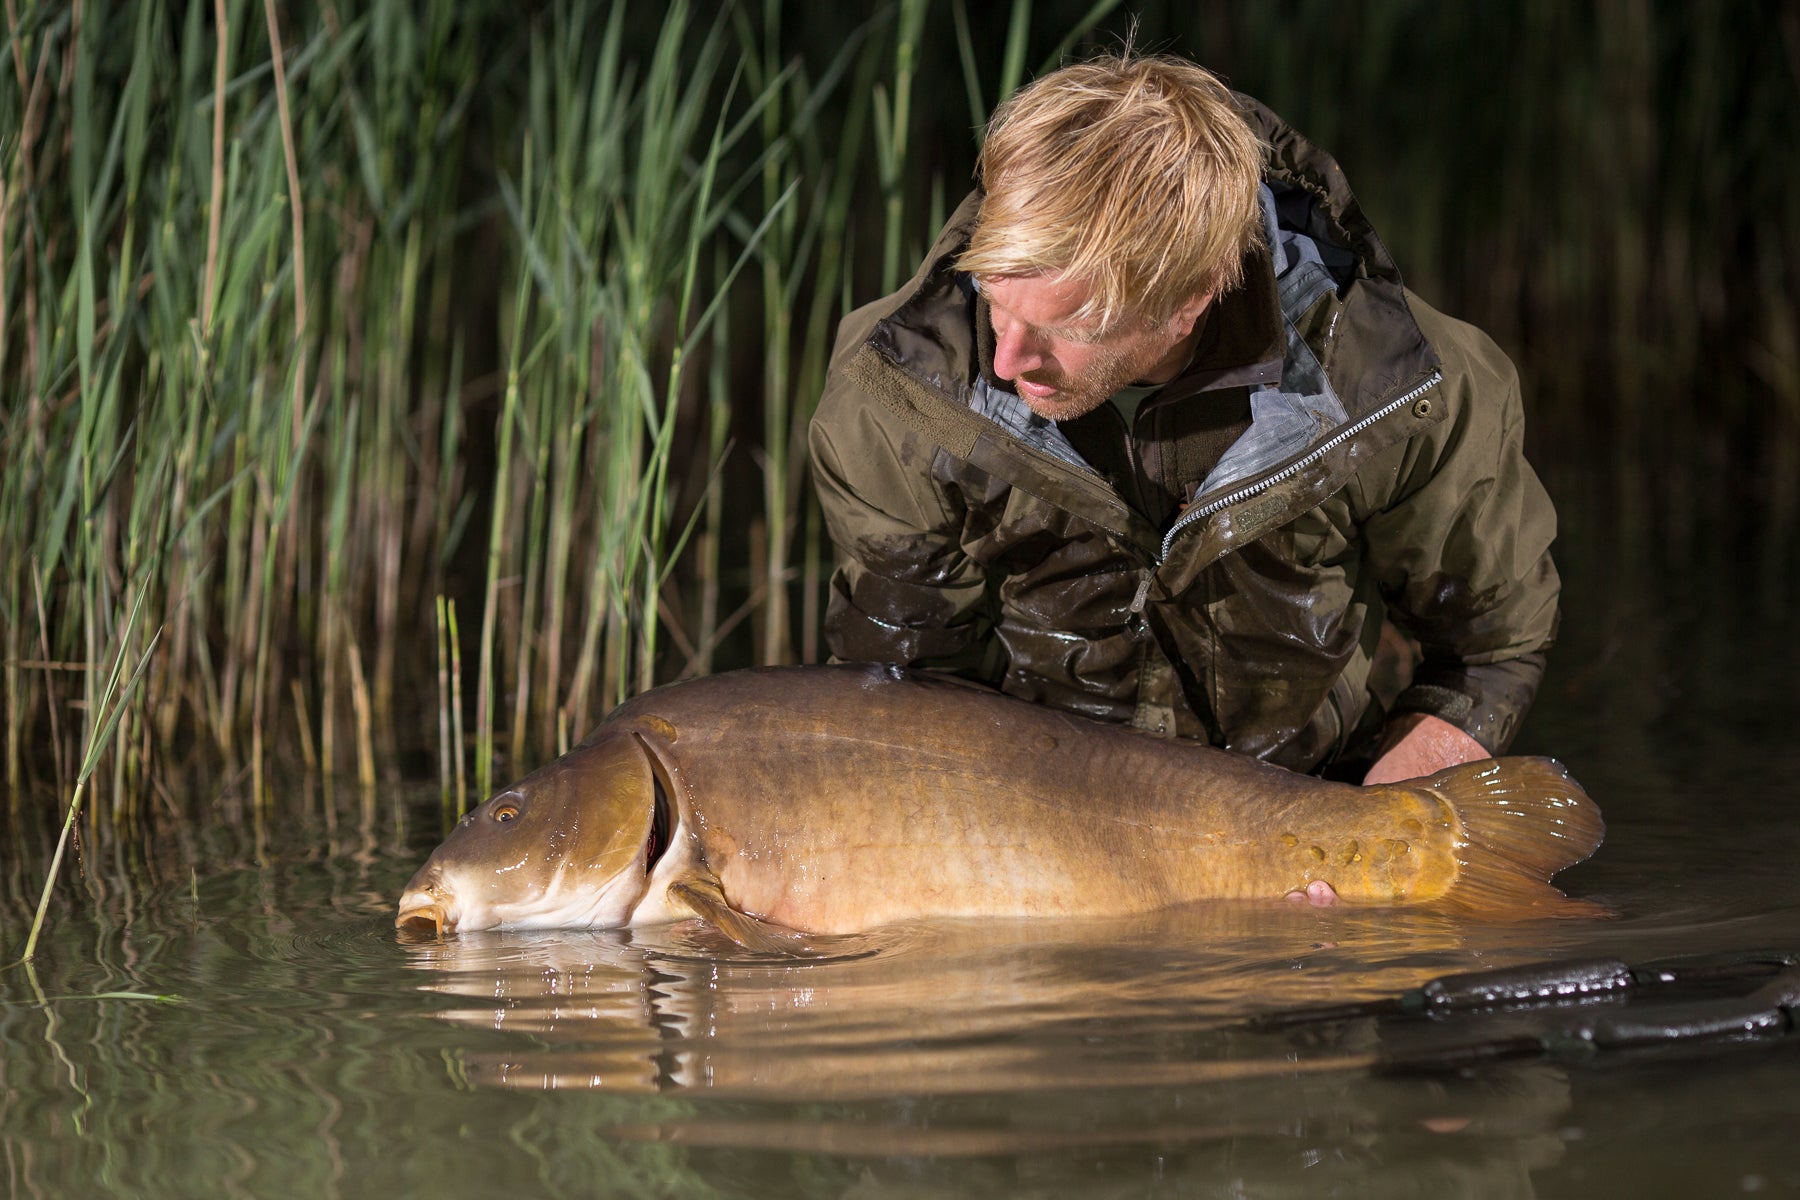
Carp are active day and night. So it is no surprise that a large part of carp angling takes place in darkness. Plenty of techniques and skills help the angler to fish effectively in these conditions. Precise casting, for instance, is facilitated by the use of line clips, distance sticks or just a good casting feeling from experience. For the guys that use a boat a GPS comes very handy to bring out a rod at night. There is really plenty of tackle that makes effective night fishing possible. Just think about electronic bite indicators, bedchairs, shelters, headlamps and so on. But with all the gear and skills for night angling, why don’t you see more photos of carp at night? It seems that carp anglers miss the fact that their equipment would actually also allow photographing their catch in darkness.
Welcome to the 20th century. Digital reflex cameras (DSLR’s) or digital mirrorless cameras (DSLM’s) with most modern technique are standard repertoire of carp anglers. High ISO sensitivity, large dynamic range and best software for post processing allow good results of man-fish-photos also at night. There is really no need to sack a fish over night. To motivate carp anglers that are willed to learn something about photography or to get rid of their laziness at night, this article aims to boost the trend of taking photos right after capture and is all about the camera settings for flash photography, the usage of the integrated camera flash as well as some affordable equipment giving the shots that extra bit of magic.
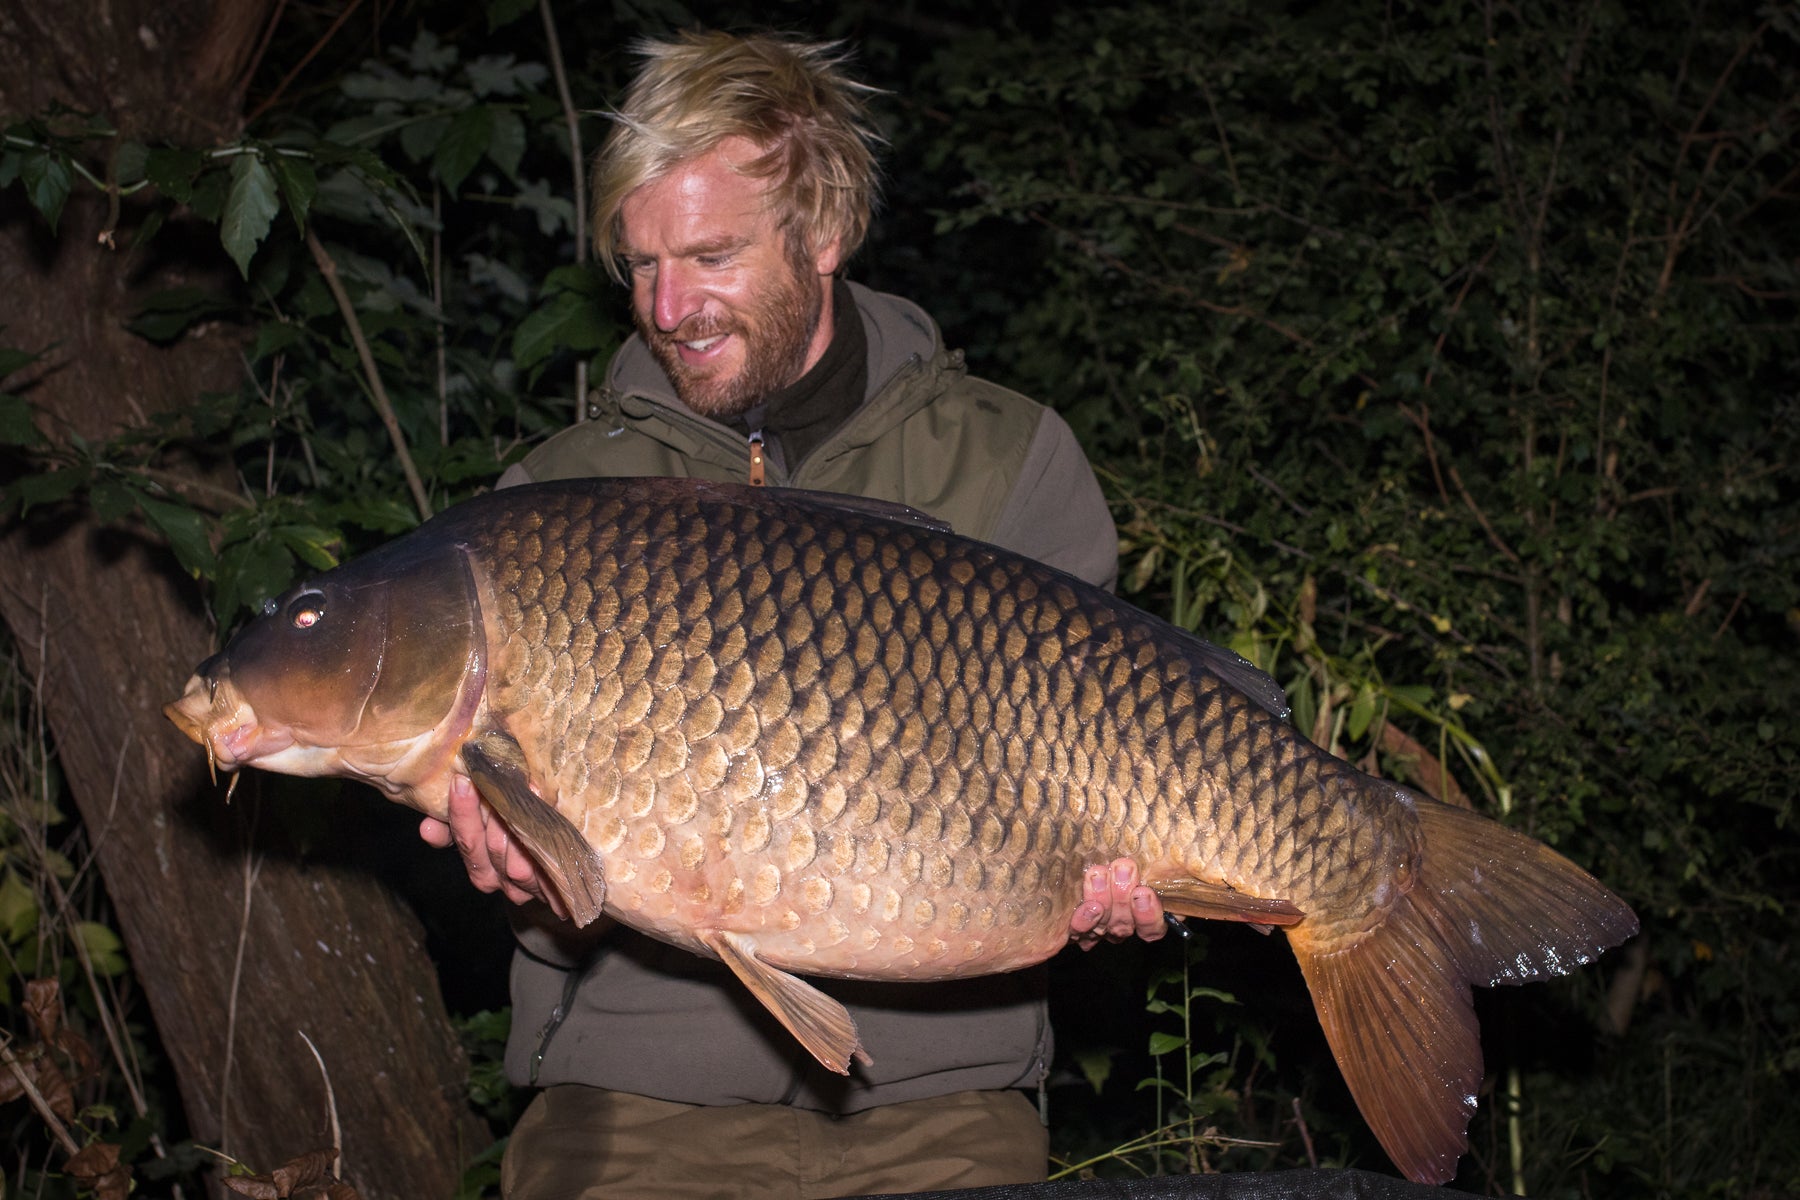
Rule number 1: Use only manual camera settings at night!
Turn the program wheel on the left upper side of the camera to manual settings (M) and forget about all the other letters and signs on it. This is because at night, you should not trust automatic functions and better tell the camera exactly what it has to do. But don’t worry this is not rocket science. Actually it is rather easy for man-fish photos and practically every time the same. This is because the circumstances are also the same every time: it is dark. So when the program wheel is on “M”, you choose 1/125 s for the shutter speed, an aperture between 4 and 5.6 (the smaller the number, the lesser the sharpness of the background) and an ISO value of 400 (giving some light sensitivity). These values work quiet well and can be used practically every time. Of course, a more advanced photographer can fine-tune these settings to his own preferences. But for a nocturnal beginner, it is a decent solution for proper shots with artificial light.
Now with these manual settings we will let the integrated flash do the rest for us. After the opening of the flash by pressing on the small button next to it, it will give the (more or less) right amount of light intensity by using a TTL measurement according to your manual camera settings. It is really that easy. The flash does the work.
TTL, what’s that? A flash with TTL exposes a photo automatically by calculating how much light is needed for an optimum result with the actual camera settings. This facilitates the flash photography at night as the flash does actually all the exposure work for you. TTL is a standard setting for the integrated flash as you can check in the menu of your camera.
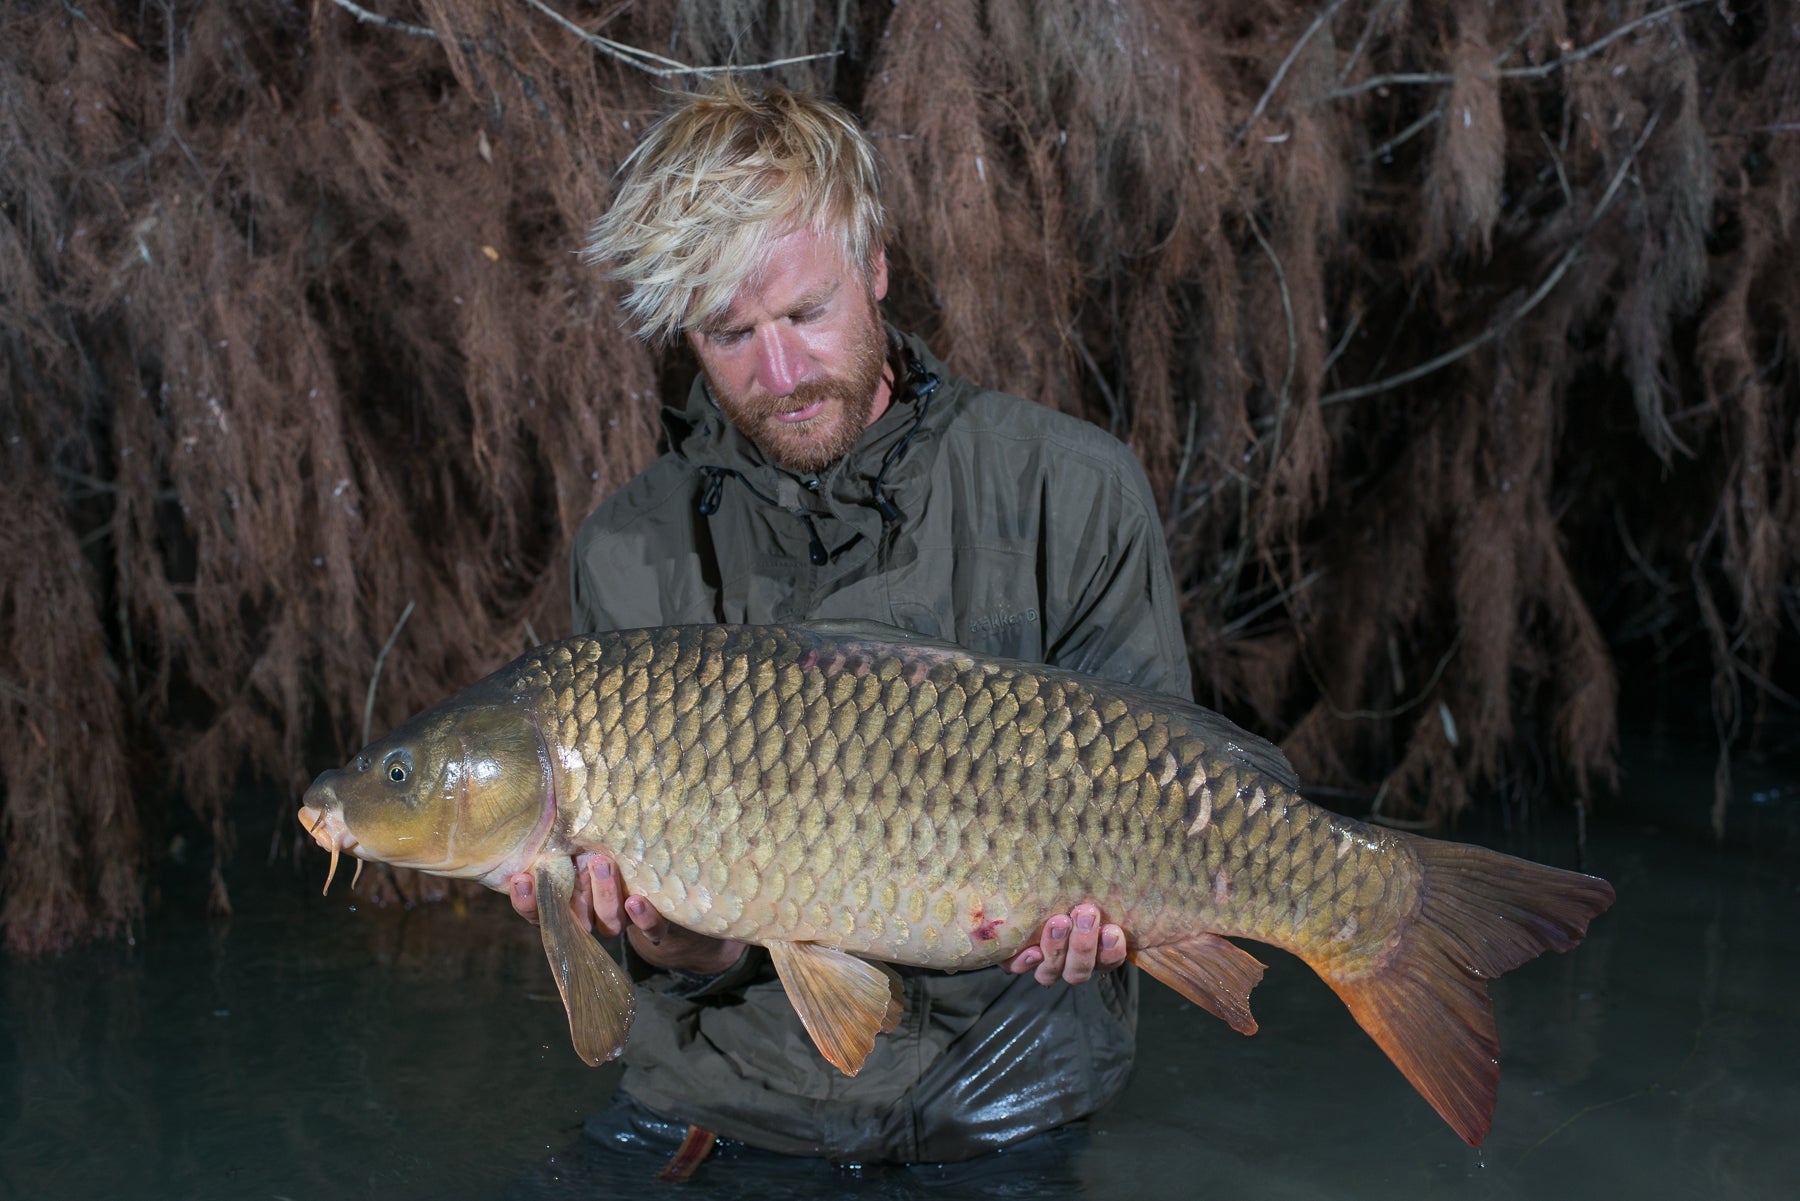
Rule number 2: Give the flash some space
The lesser the distance to the flash, the bigger will be the exposure difference between fish, angler and background. When the flash is closer than one metre to the fish (which happens when you photograph with a wide-angle focal length), it will lighten the body of the fish mainly in the middle which will give a very bright and over-exposed belly and a too dark head and tail. Furthermore, the background will be quite dark as the flash power is set relatively low by the TTL measurement due to the short distance of the photo’s subject. By increasing the distance between flash and fish to a minimum of 1.5 metres and usage of focal lengths from 35 mm upwards the exposure of the photo will be much more balanced (and additionally the fish does not look like inflated).
Rule number 3: Give a bit of extra light
A headlamp or a small LED video lamp that is pointed towards the fish facilitates framing of the scenery and helps the autofocus of the camera. Just a bit of light to see fish and angler is enough.
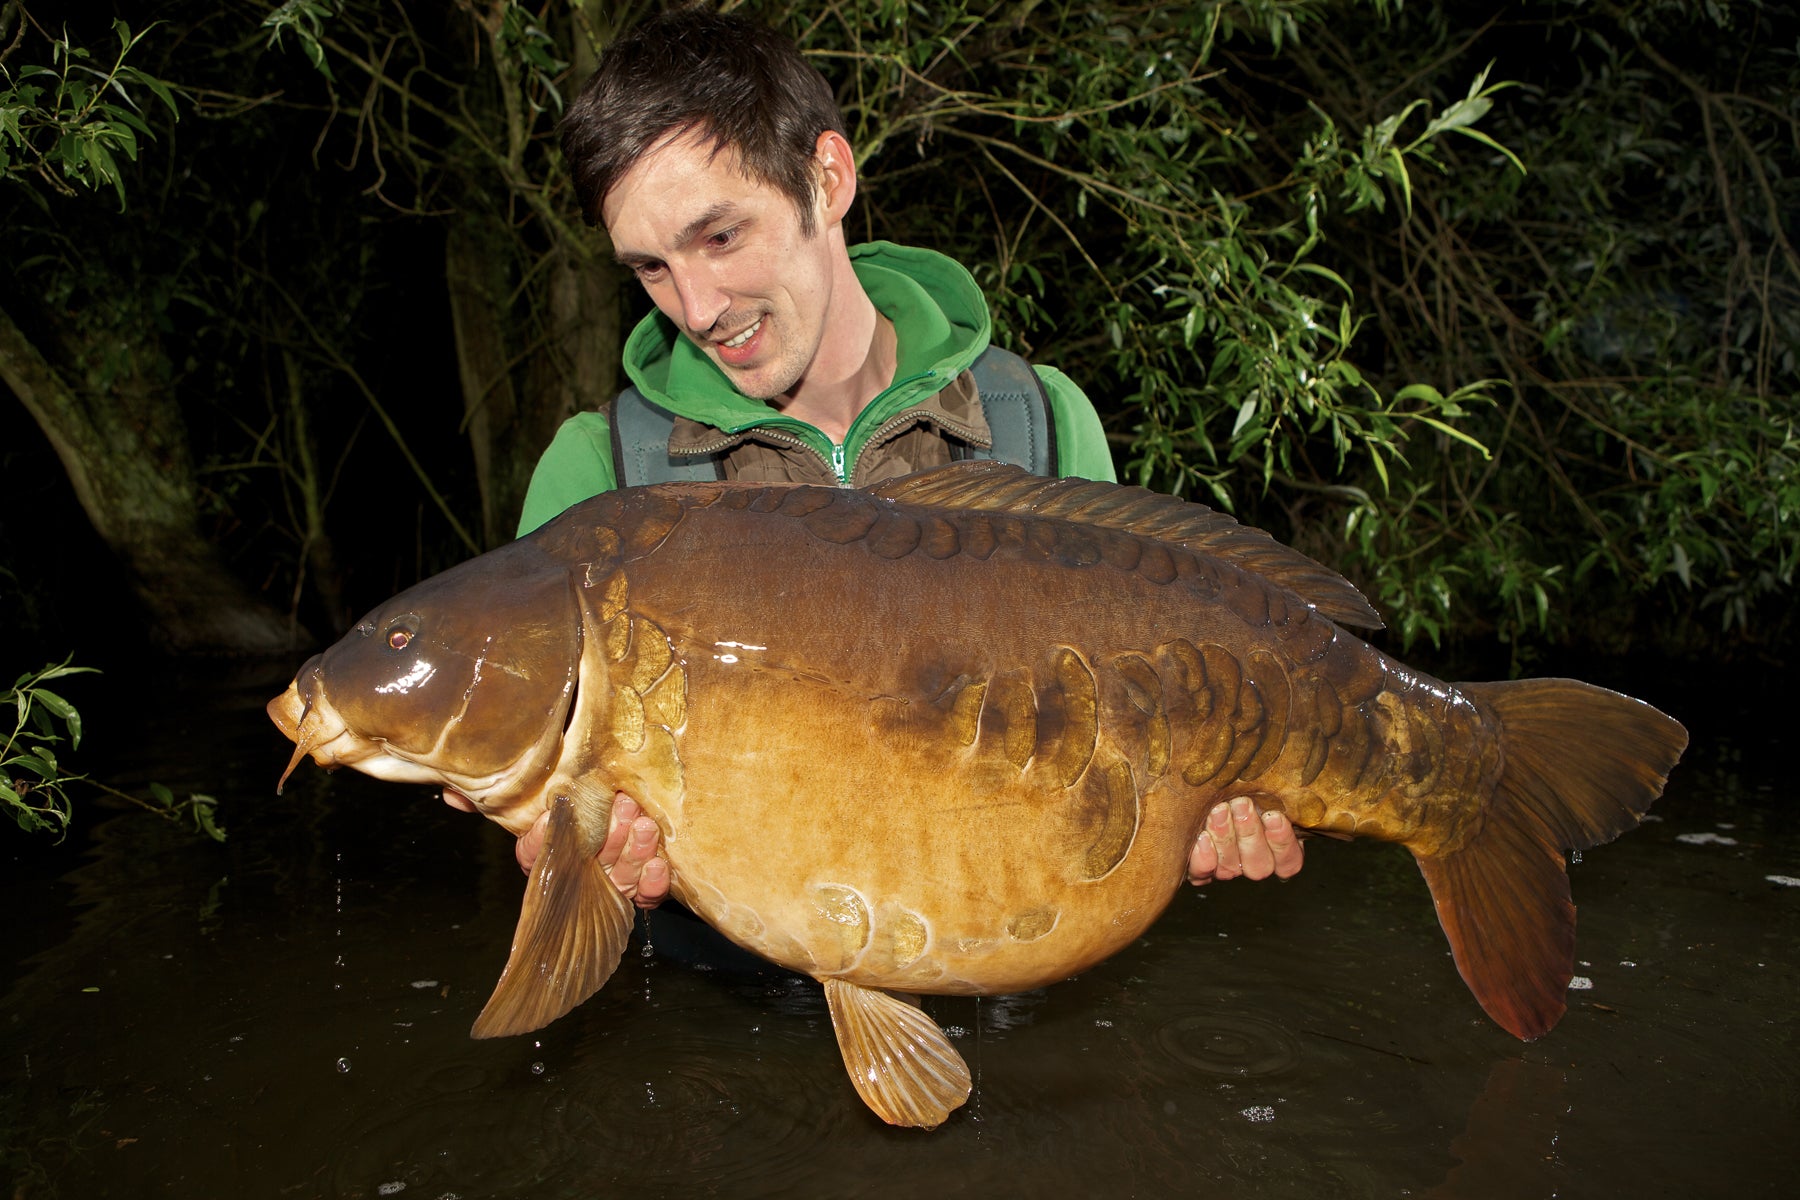
Rule number 4: Two flashes are better than one
Two flashes are not only better to expose the fish more equally but also allow to enlighten a larger part of the background. Logically, at least one flash has to be external and work as a “slave”. It can be positioned on a bankstick or tripod giving light from the side to the fish and background. The integrated flash of the camera functions as its “master”, giving the signal for flashing and transmitting the camera settings. Also the integrated flash of your camera has this master option however needs to be activated beforehand in the flash menu of the camera. In the Canon menu it looks like this: “Flash control” -> “Built-in flash settings” -> “Wireless function” -> choose the symbol of external flash and integrated flash that are separated by a colon.
The flashes of Canon or Nikon are quite expensive though and start from 200 €. Good alternatives are sold from Yongnuo that offer quite similar and absolutely reliable flashes for a much lower price. The fitting models for Canon or Nikon with TTL-function are sold for less than 100 €. The model of choice could be the Yongnuo YN-568EX II that is sold for around 85€ and can be used as well as a slave, master or just as a flash mounted on the camera when only one flash is needed for quicker shots or at daytime. Yongnuo sells a matching diffuser (OS03140) for around 2€ that makes smoother and more evenly distributed light of the flash.
The camera settings for the master and slave flash photography remain the same (M). Just make sure that the Yongnuo flash is set to “S” (like slave) in its menu when used as a slave.
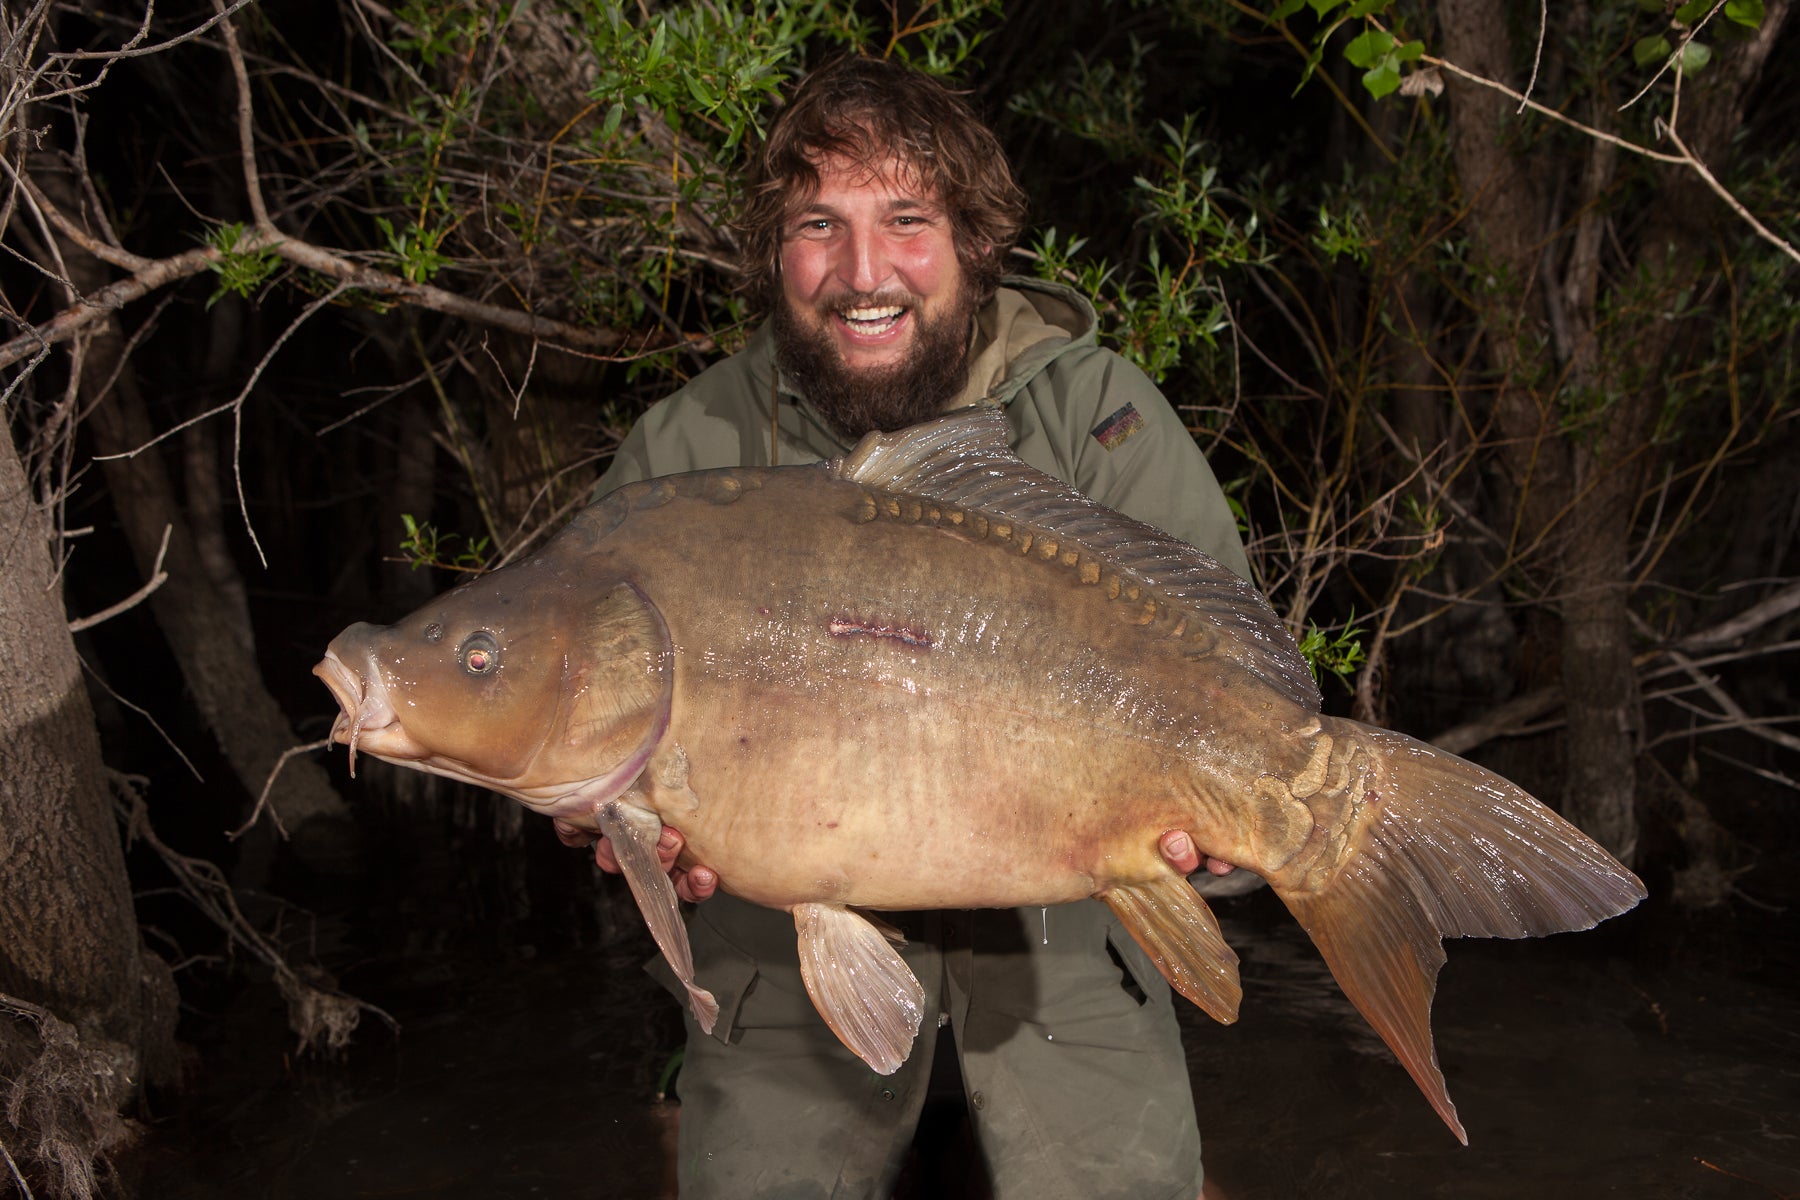
How to mount a flash on a bankstick of tripod?
A hot shoe is a small adapter that can be mounted onto the flash contact. It has an internal thread allowing to connect hot shoe and bankstick by using a thread adapter from ¼ to 3/8 inch. The costs for both are below ten Euros.
For tripod mounting you screw a tripod plate (that is normally mounted below your camera) into the plastic flash foot that is delivered as standard together with the flash.
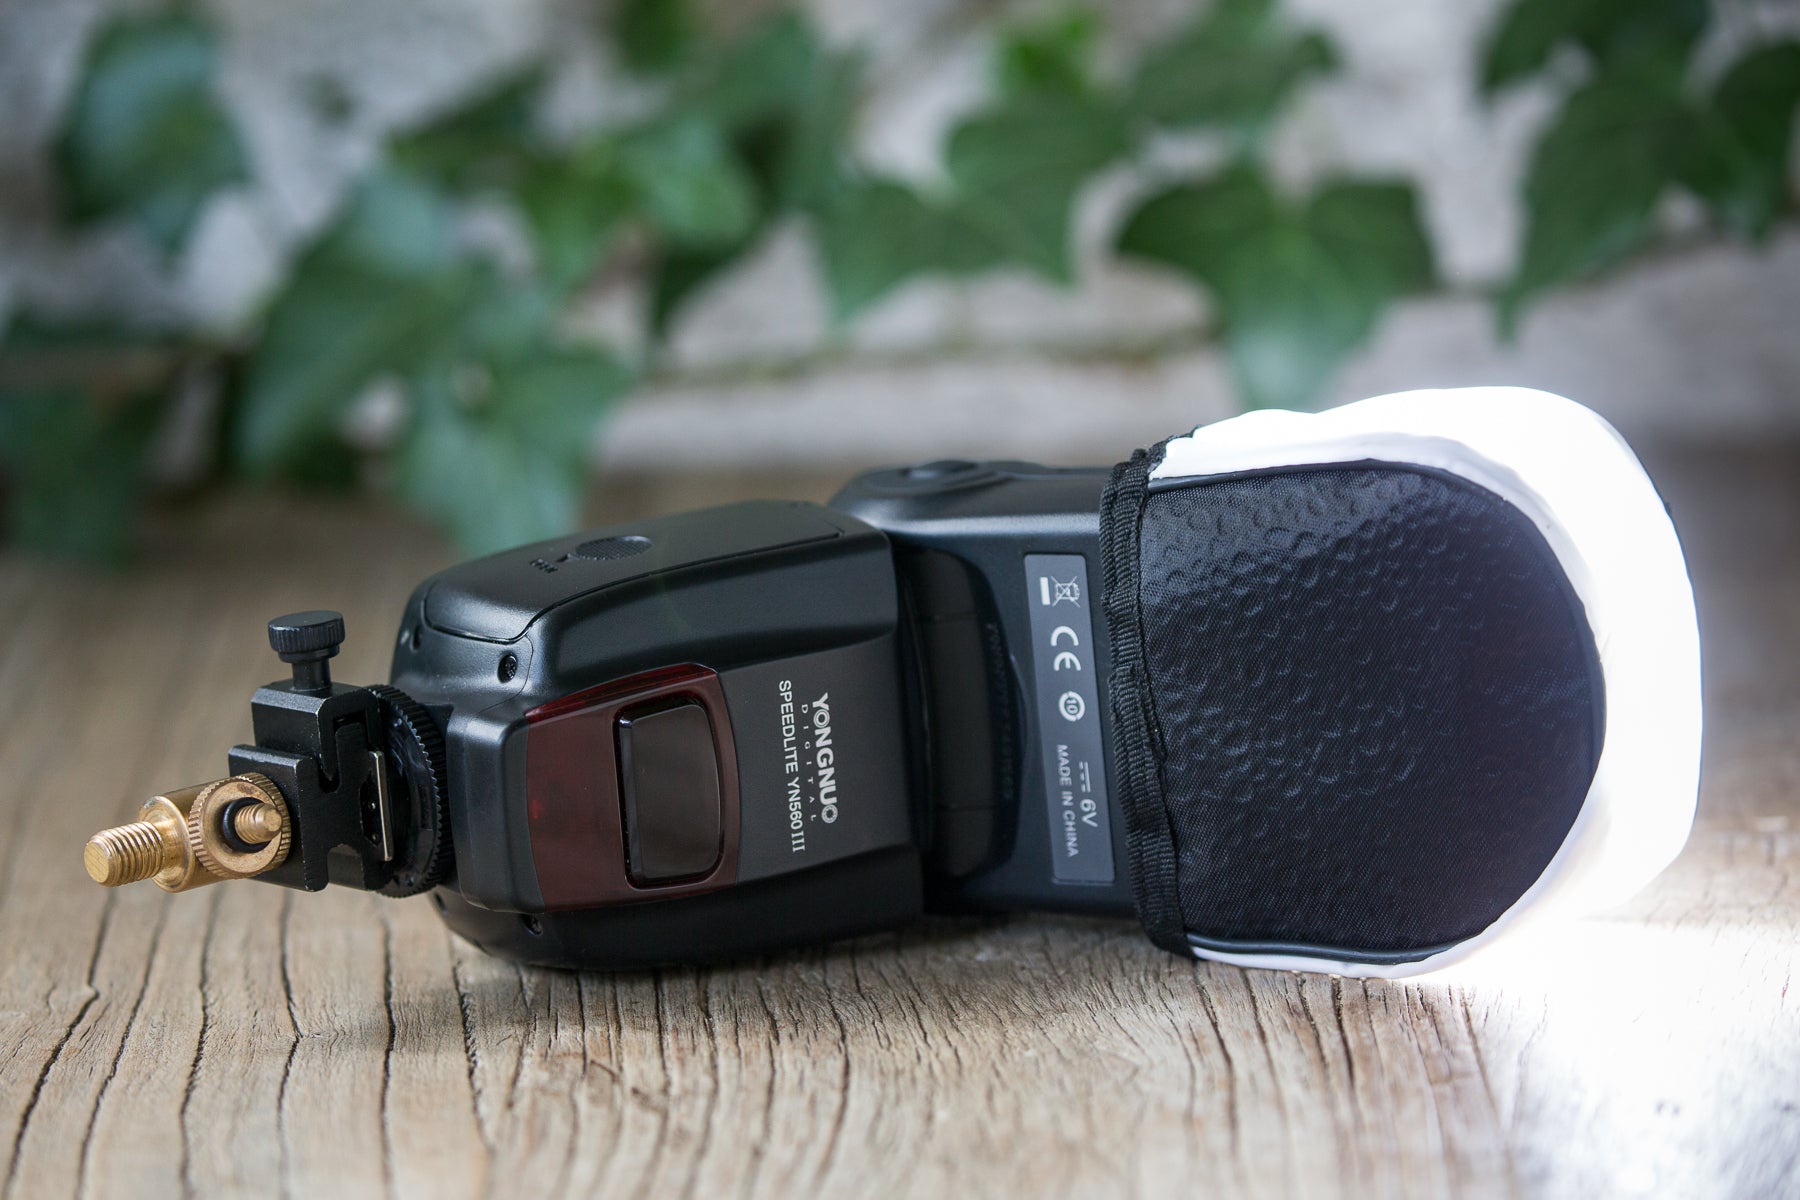
My flash setup:
My actual setup gives some additional creative freedom. I use two slave flashes and spare a flash that comes directly from the camera. Both flashes are mounted on long banksticks and triggered by a small unit that is on the hot shoe of the camera. This gives the photo more three-dimensionality. The possibilities for positioning of the flashes are also less limited as the unit can trigger the flashes from distances up to 100 metres. I work without TTL and control the flashes manually which means a bit more fine tuning but also reduces the prices of the flashes. The total setup costs only around 170 €: two Yongnuo YN 560-III flashes (55 € per flash), a Yongnuo control unit YN 560-TX (35 €), two Walimex fabric diffusers, two Walimex hot shoes and two thread adapters (altogether around 25 €).

LED video lamps:
LED video lamps can also be used for night photography. The settings for the camera are similar than for flash photography but ISO should be up-regulated a bit (to ISO 800 for example) as LED lamps do not illuminate as strong as flashes. Furthermore, the shutter speed can be set a bit lower and down-regulated to for example 1/60 s for brighter results. A second LED lamp may also be necessary. The mounting of LED lamps on banksticks or tripods is similar to the mounting of flashes.
A good and inexpensive LED video lamp with adjusting of colour temperature from cold white to warm yellow is also provided from Yongnuo. The 300 LED’s of the Yongnuo YN-300 II (for around 50€) with 18 Watts have a light intensity of up to 2280 Lux.
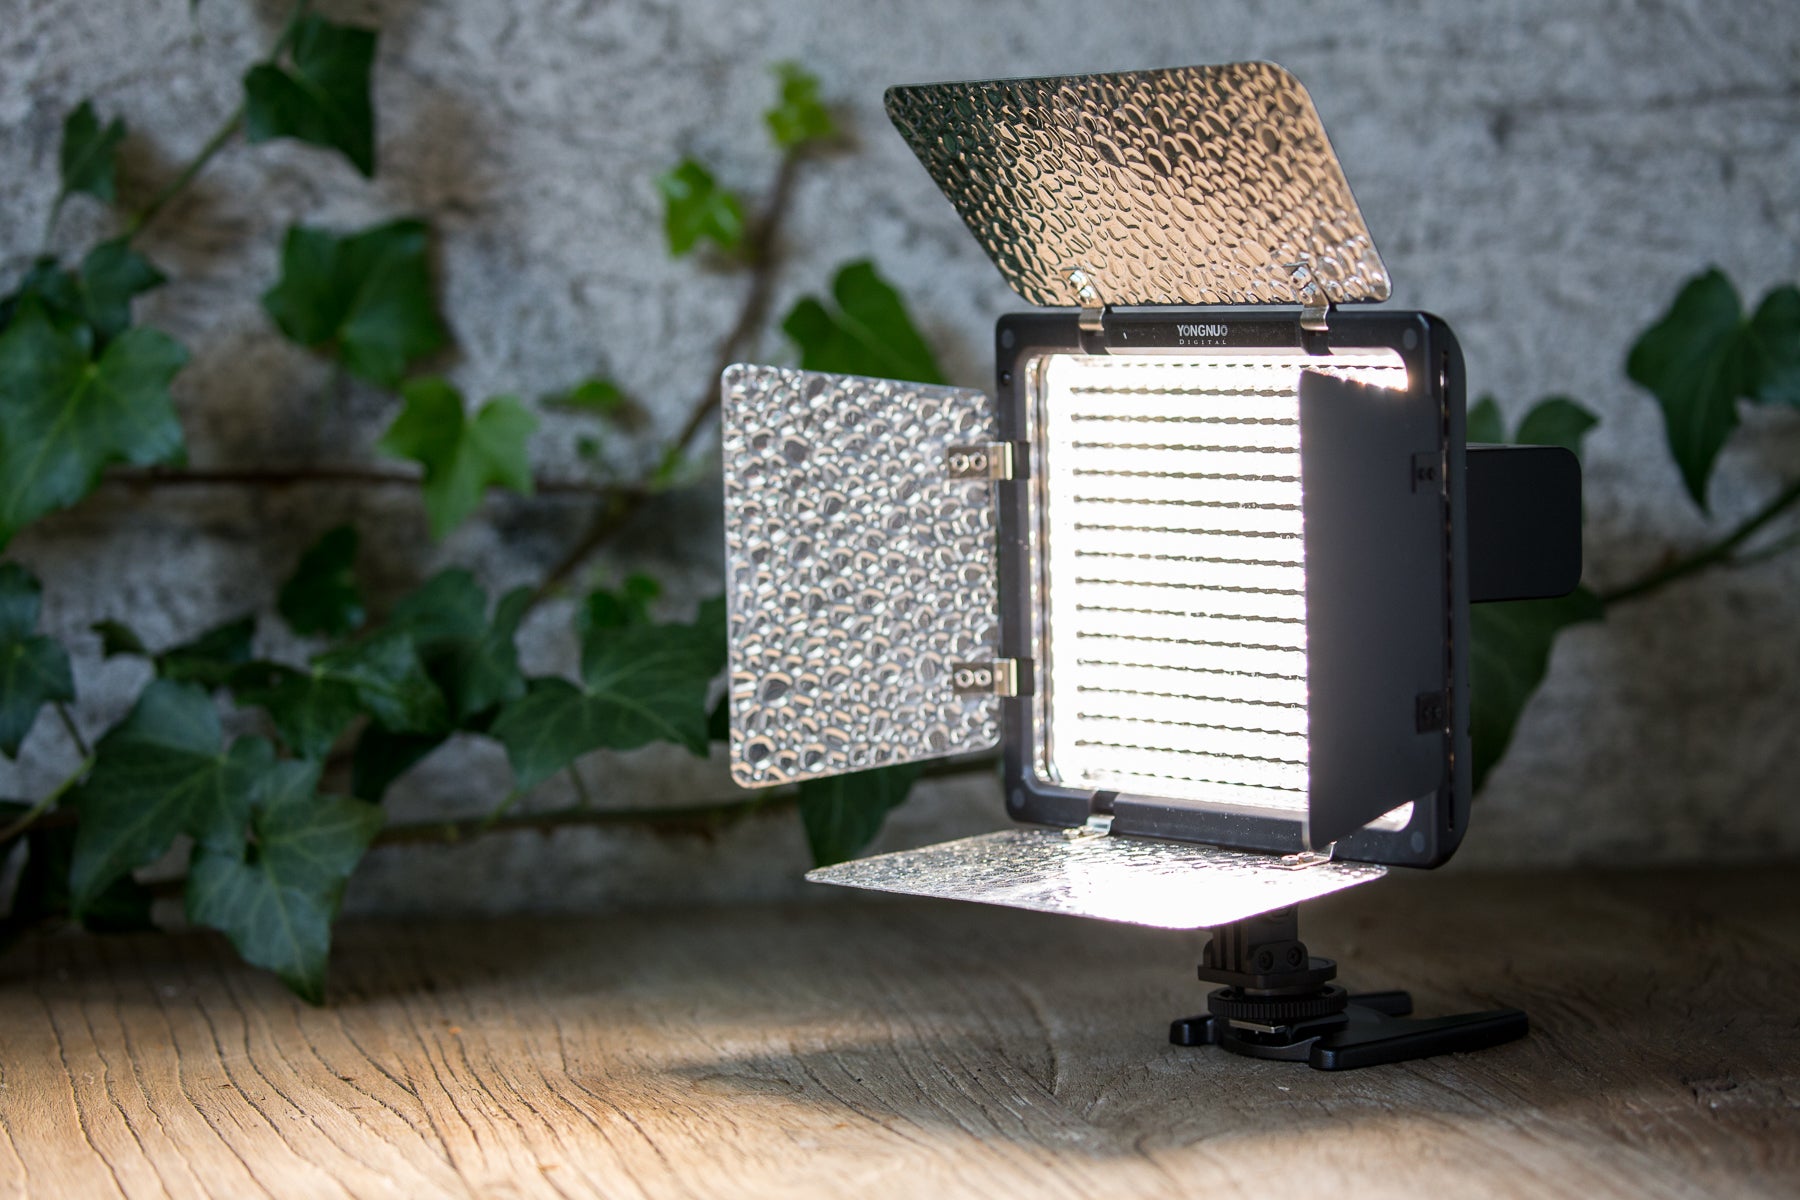
Flash or LED lamp?
A LED lamp does not give the creative freedom like a flash. The photos are also not as sharp and crisp like when illuminated from a flash. The advantages of LED lamps, however, are clearly their suitability for filming (at night) and to make some ambient light.

The electricity for my flashes and LED lamps comes from rechargeable AA-batteries from Aldi (Activ Energy NiMH Plus 2500 mAh). They have enough power, stay long charged and are cheap. Alternatives are for example Duracell Ultra HR6 AA rechargeable batteries (also 2500 mAh).
To power the Yongnuo LED lamp a battery pack is needed (Neewer Battery Pack BB-6 for around ten Euros).
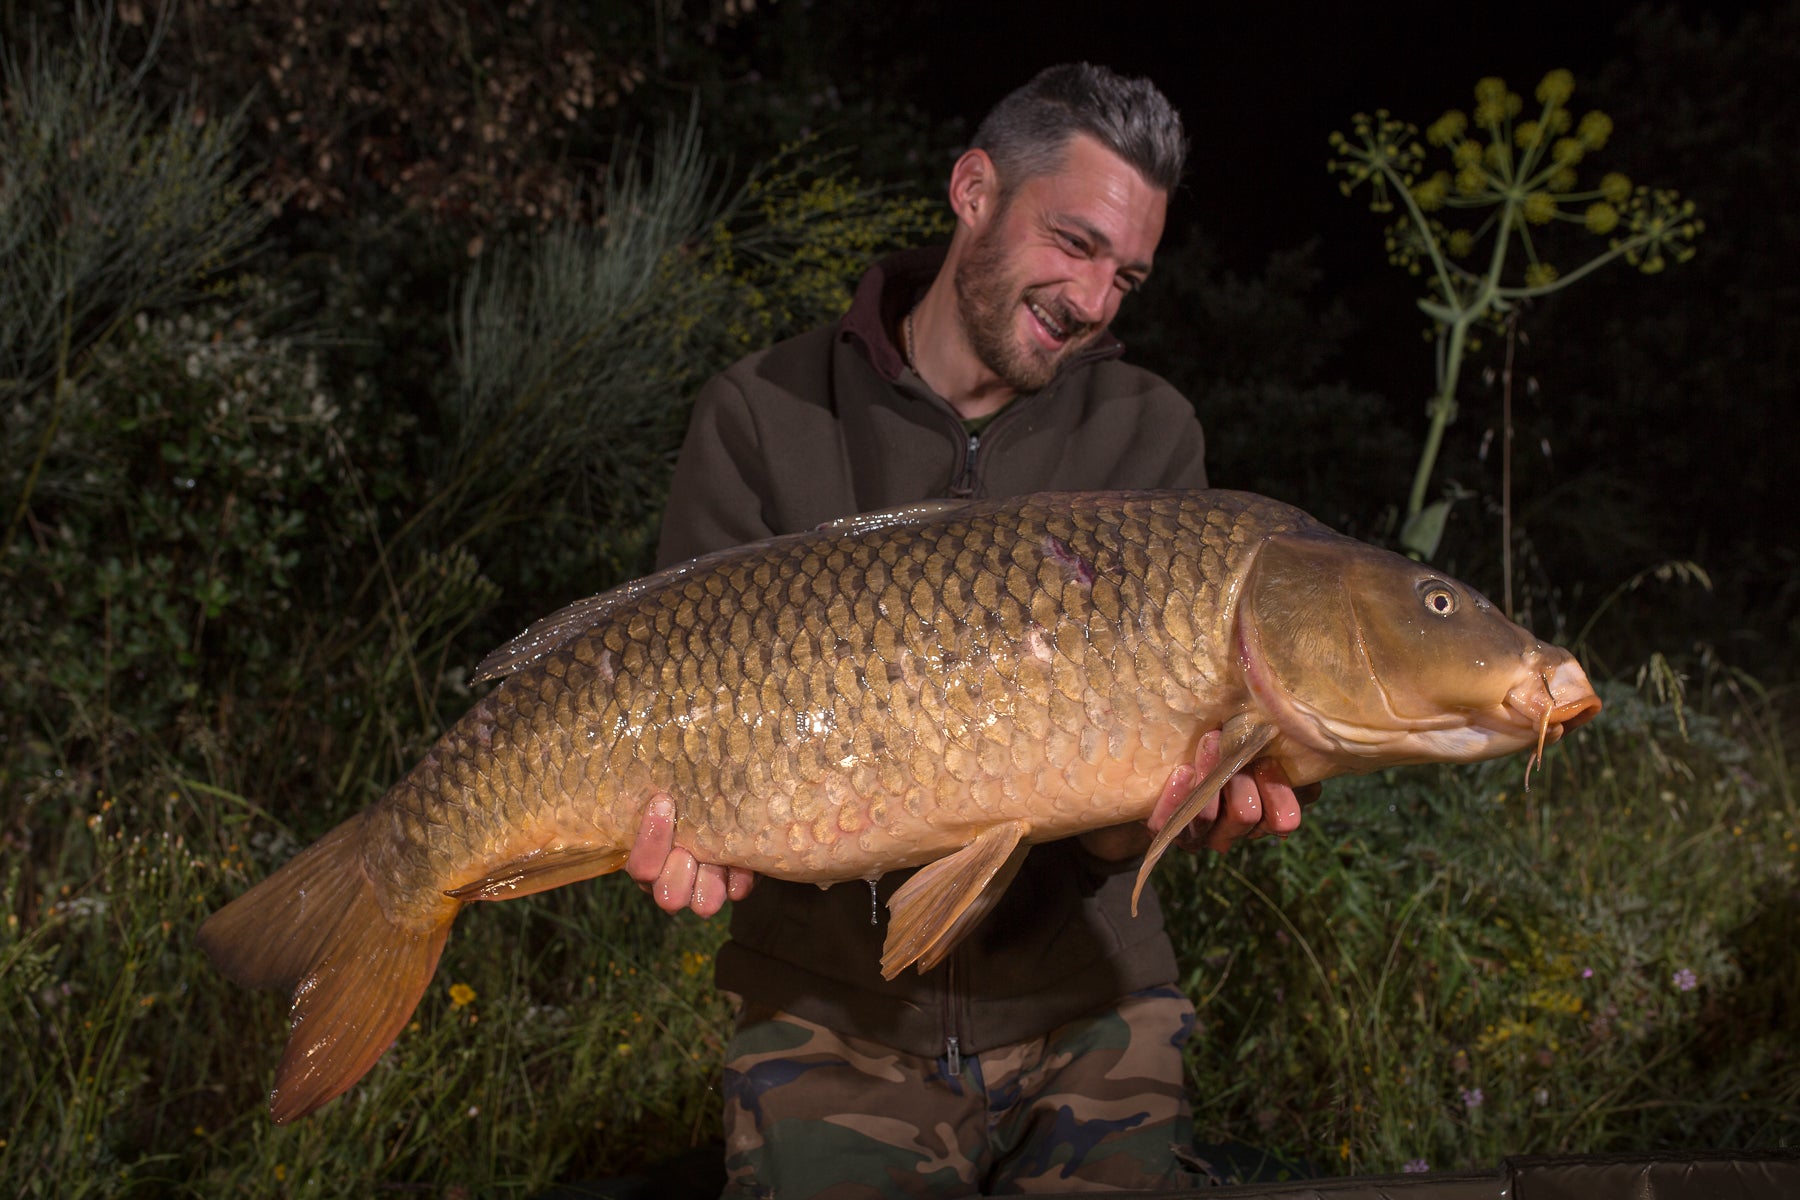
That’s it about camera settings for catch photos at night and the options to bring your setup to perfection. I hope this article is helpful and also boosts your motivation to photograph at night.
The next part is all about the positioning of the flashes, photo composition and the postproduction of the shots on the computer.
Alexander Kobler
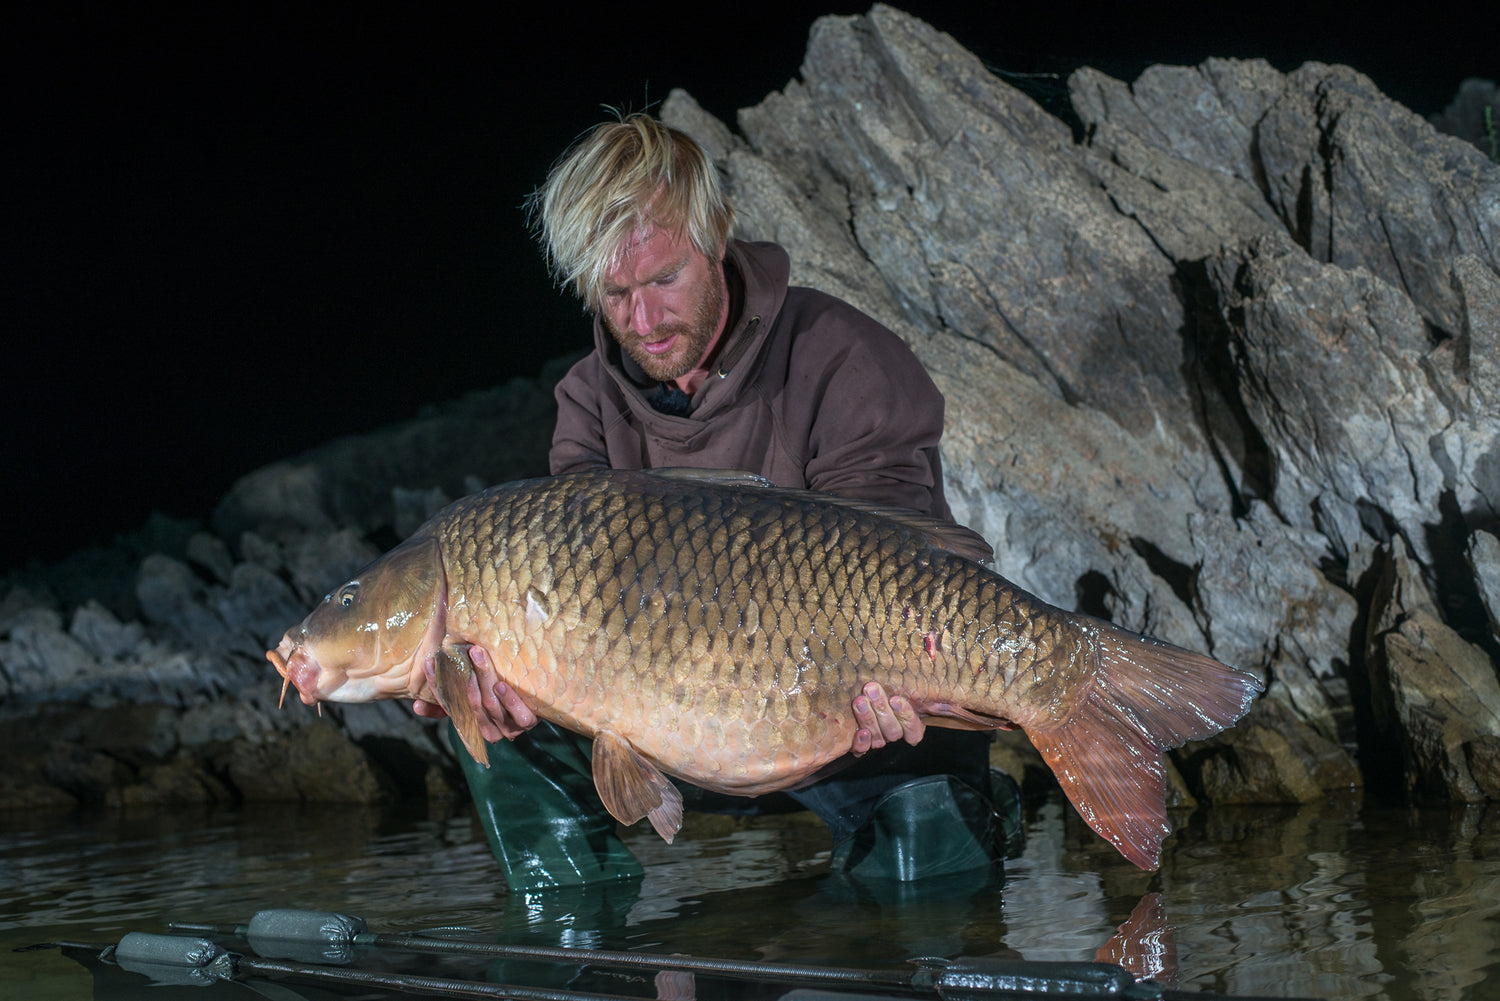
1 comment
S.Richter
Hi
Vielen Dank für den tolle Beitrag , er hat mir sehr geholfen.
Habe eine Frage zur Schärfe -Einstellung ,das ist wie Lotto spielen . Mal ist mein Gesicht ,mal der Hintergrund und ab und an der Fisch scharf. Wie lösen Sie das Problem ?
Dank im Voraus und macht weiter so.
Leave a comment
All comments are moderated before being published.
This site is protected by hCaptcha and the hCaptcha Privacy Policy and Terms of Service apply.