The most important thing for good catch photos at night is motivation. But after overcoming your weaker self – which is not always easy at three at night – a bit of routine and a trained eye for the right background will help you get your shot in no time.
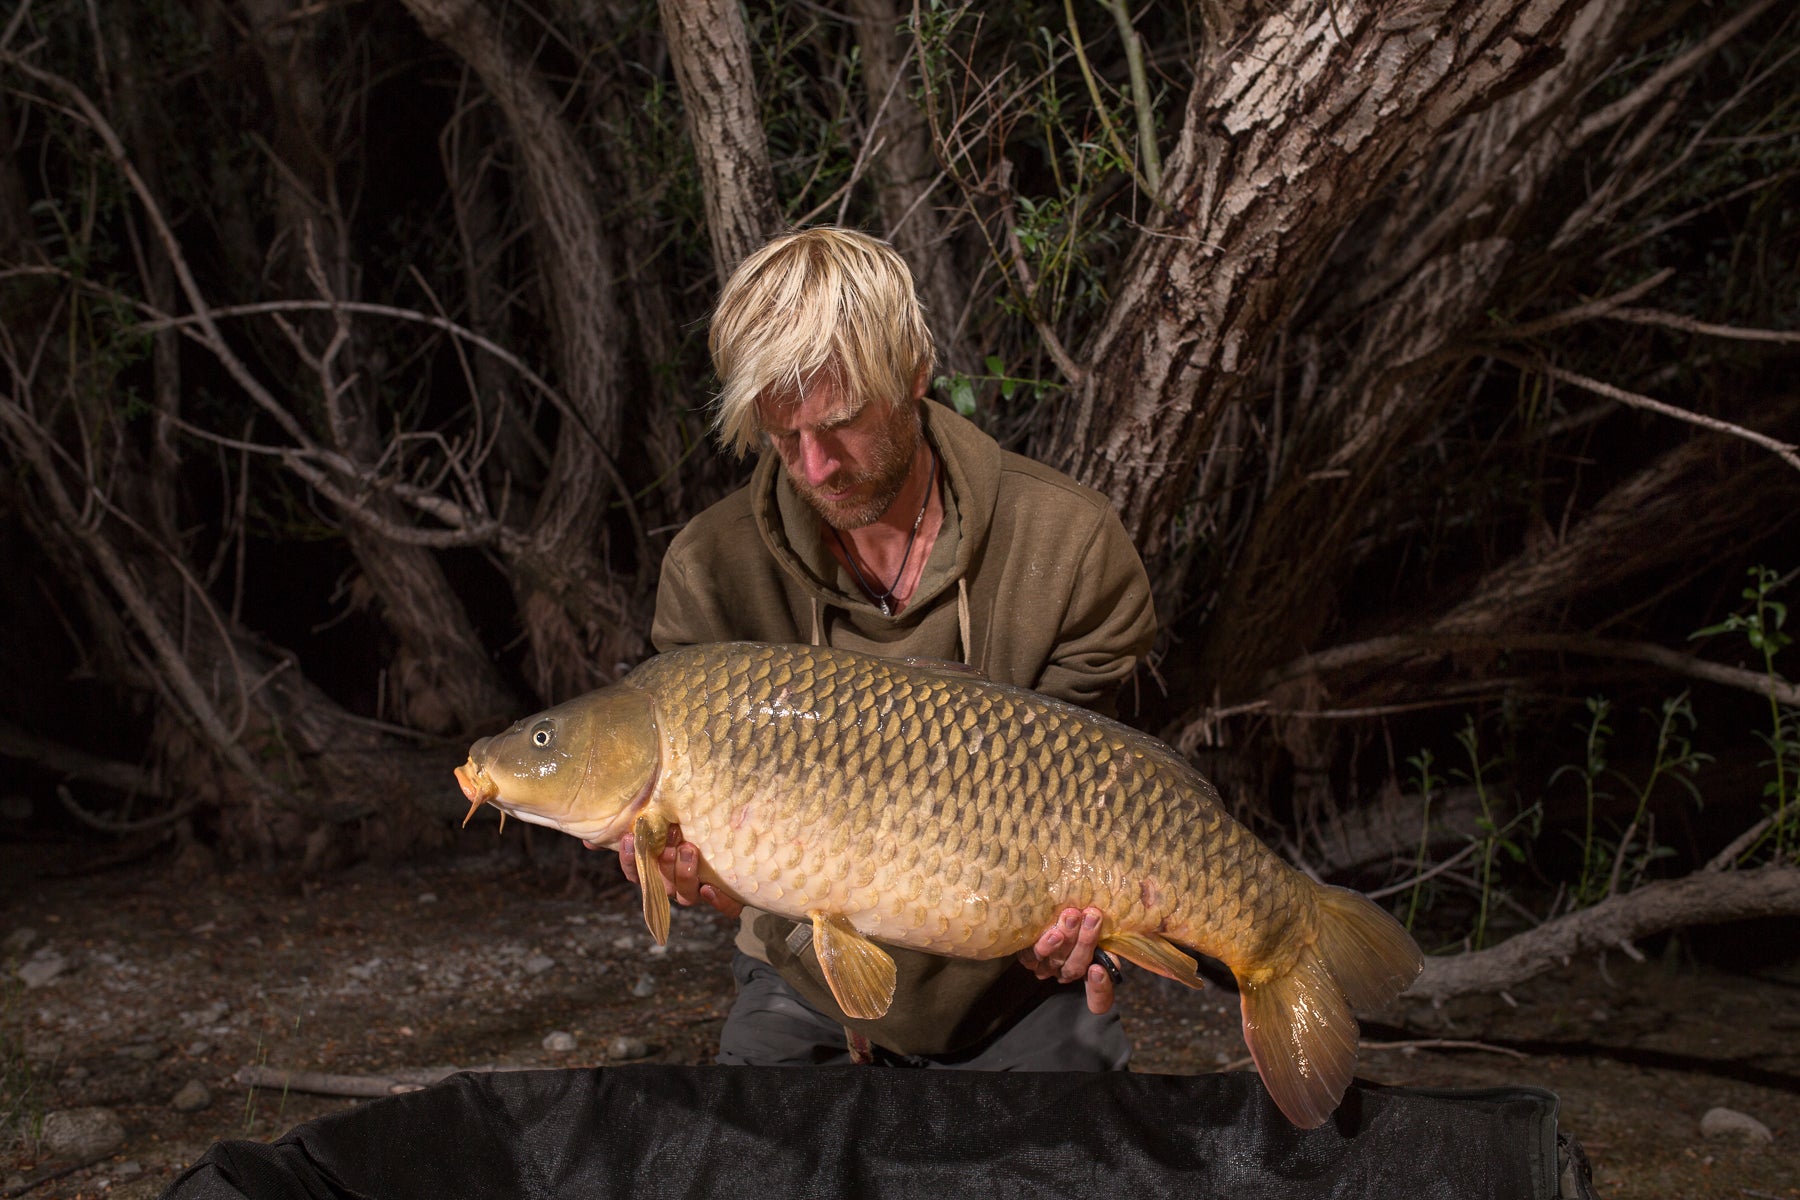
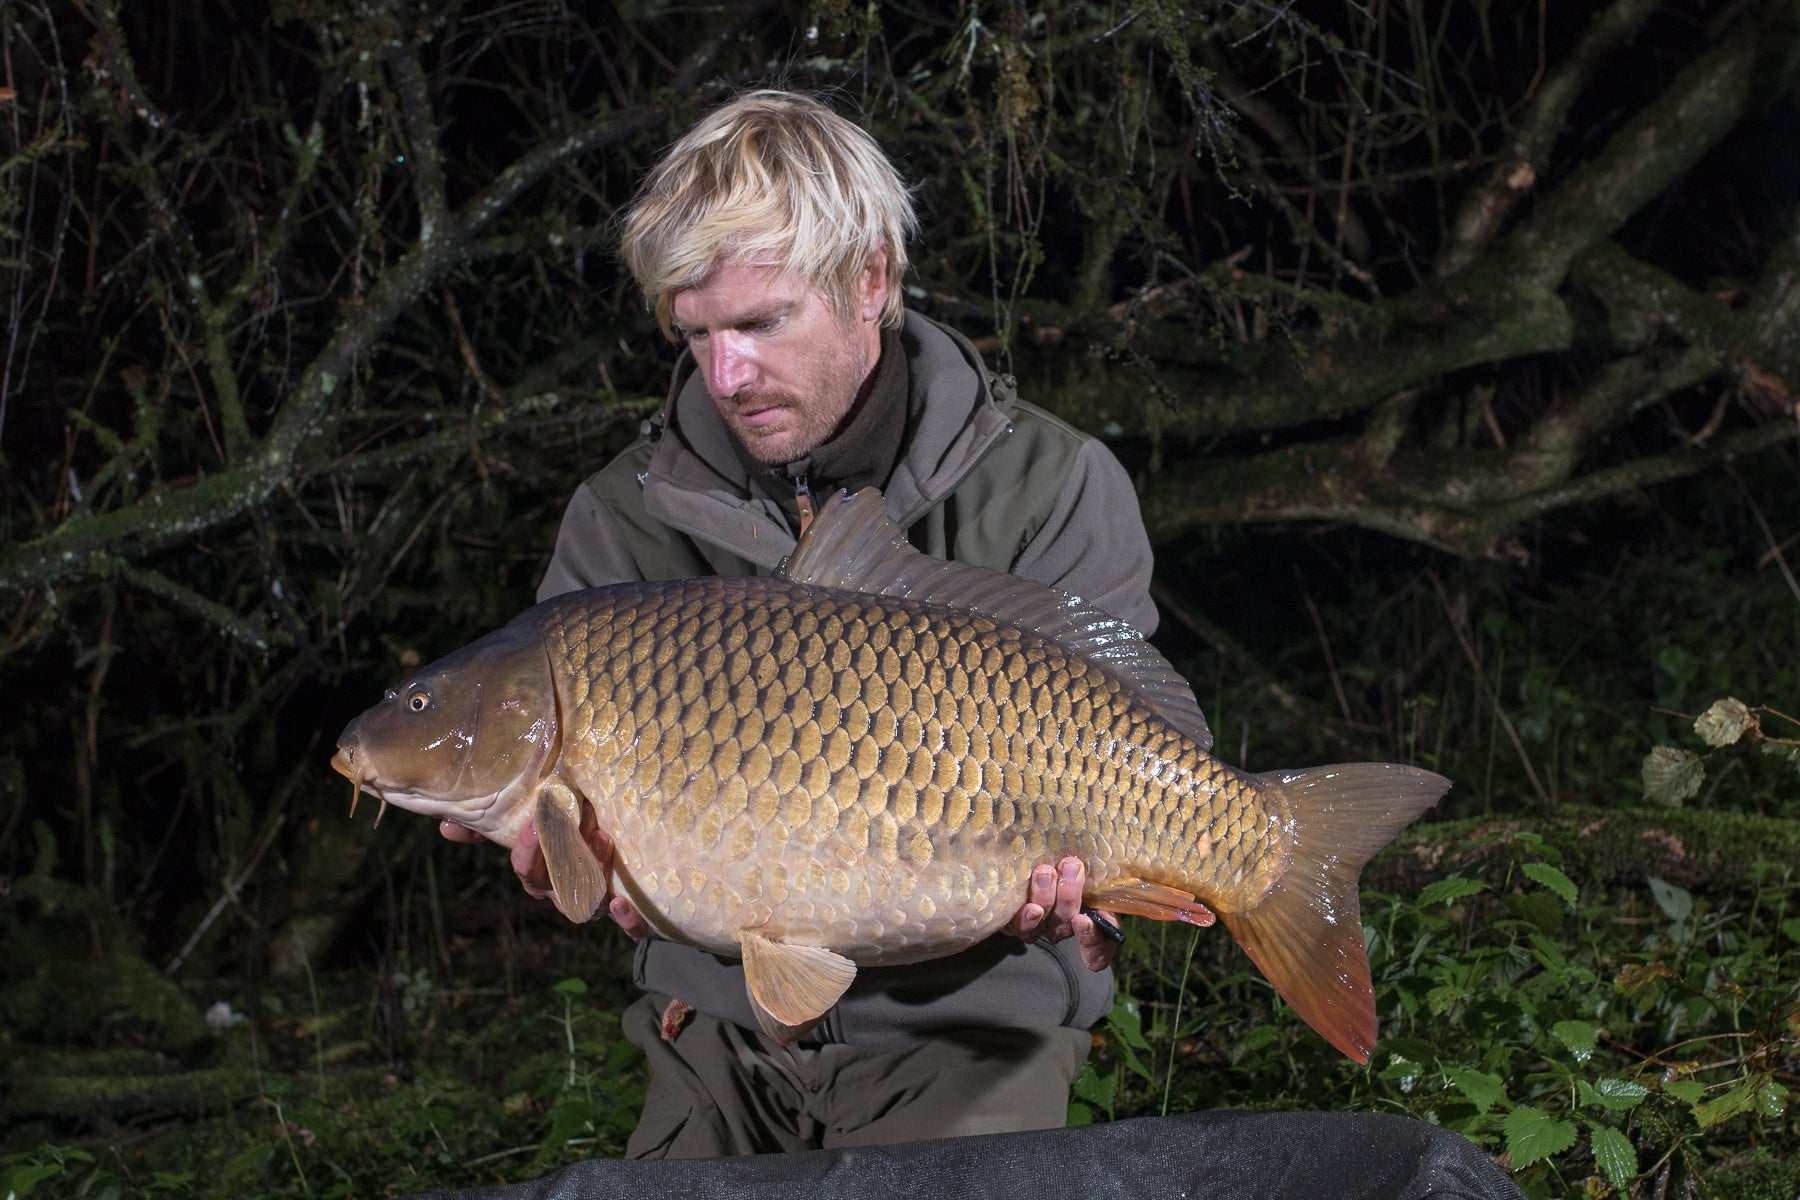
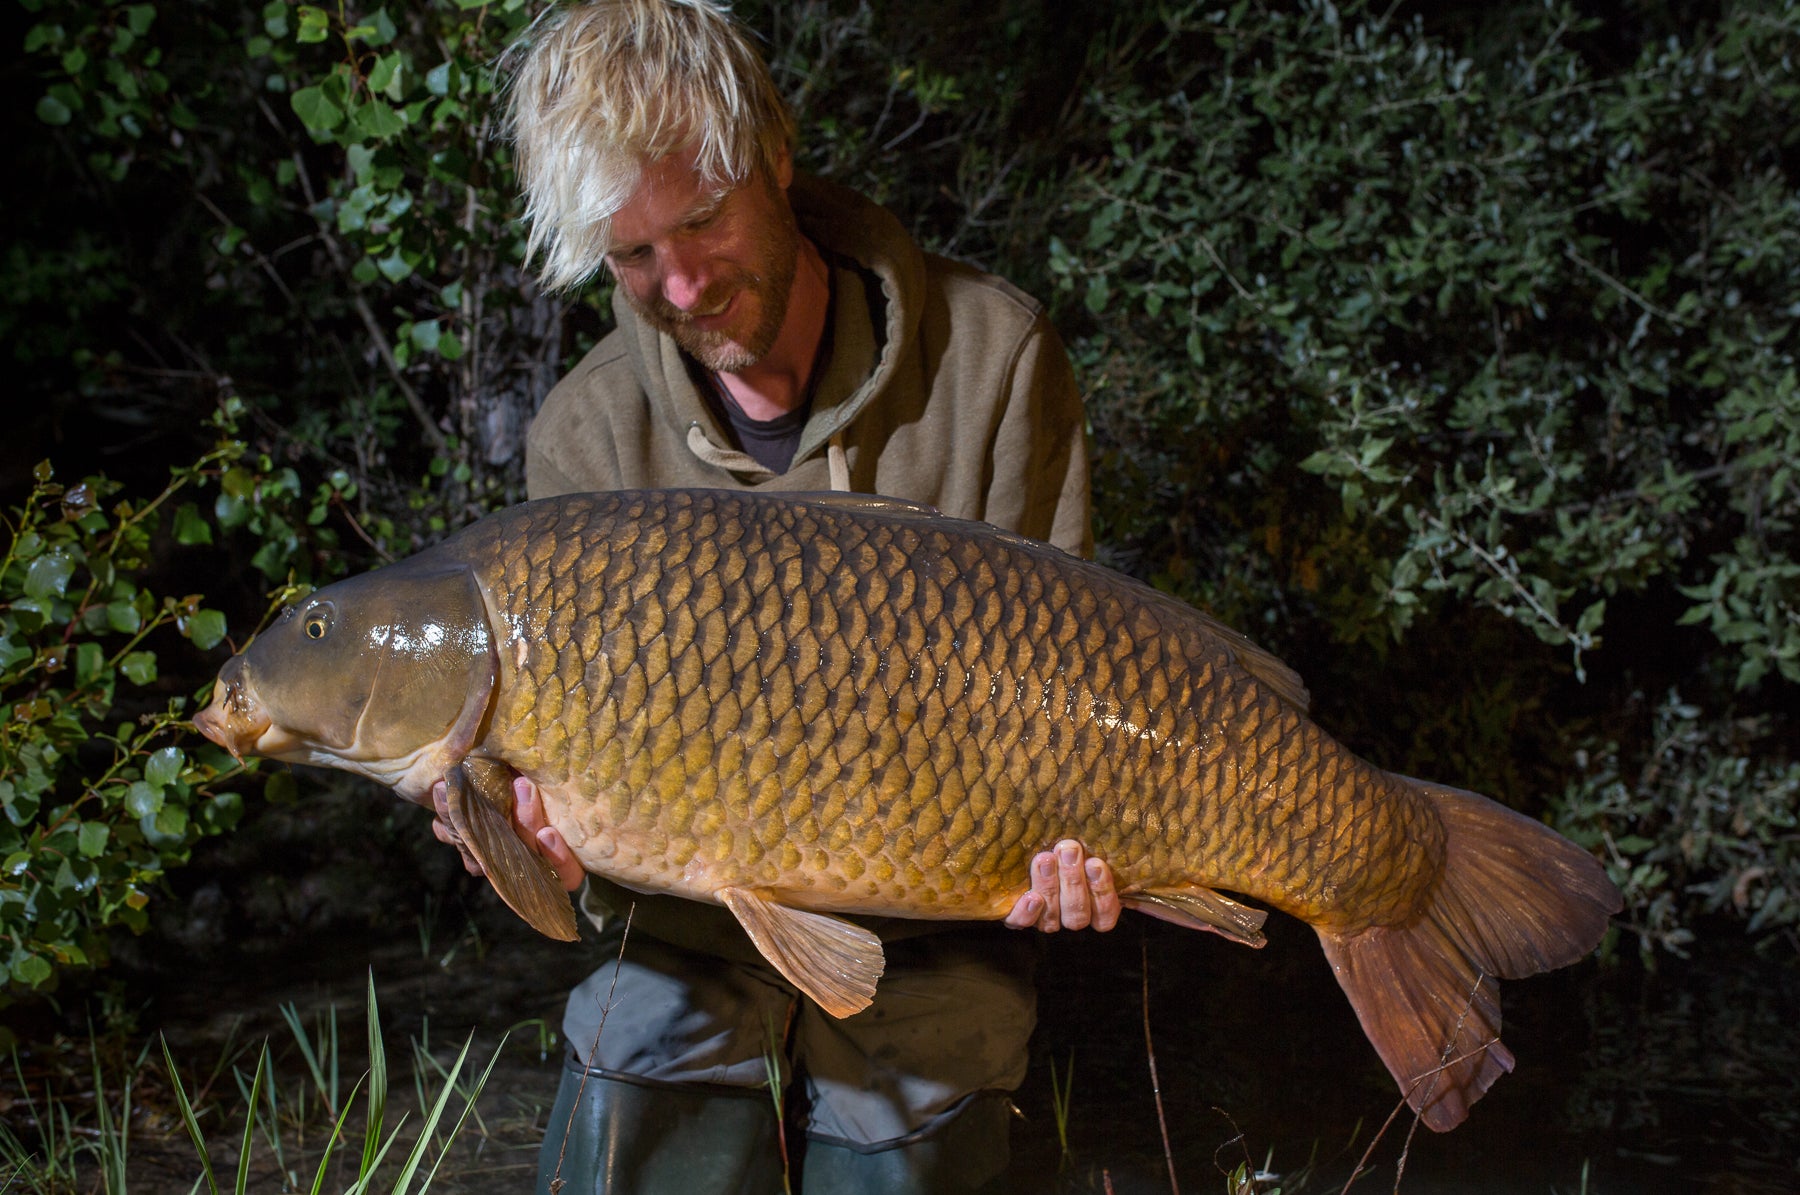
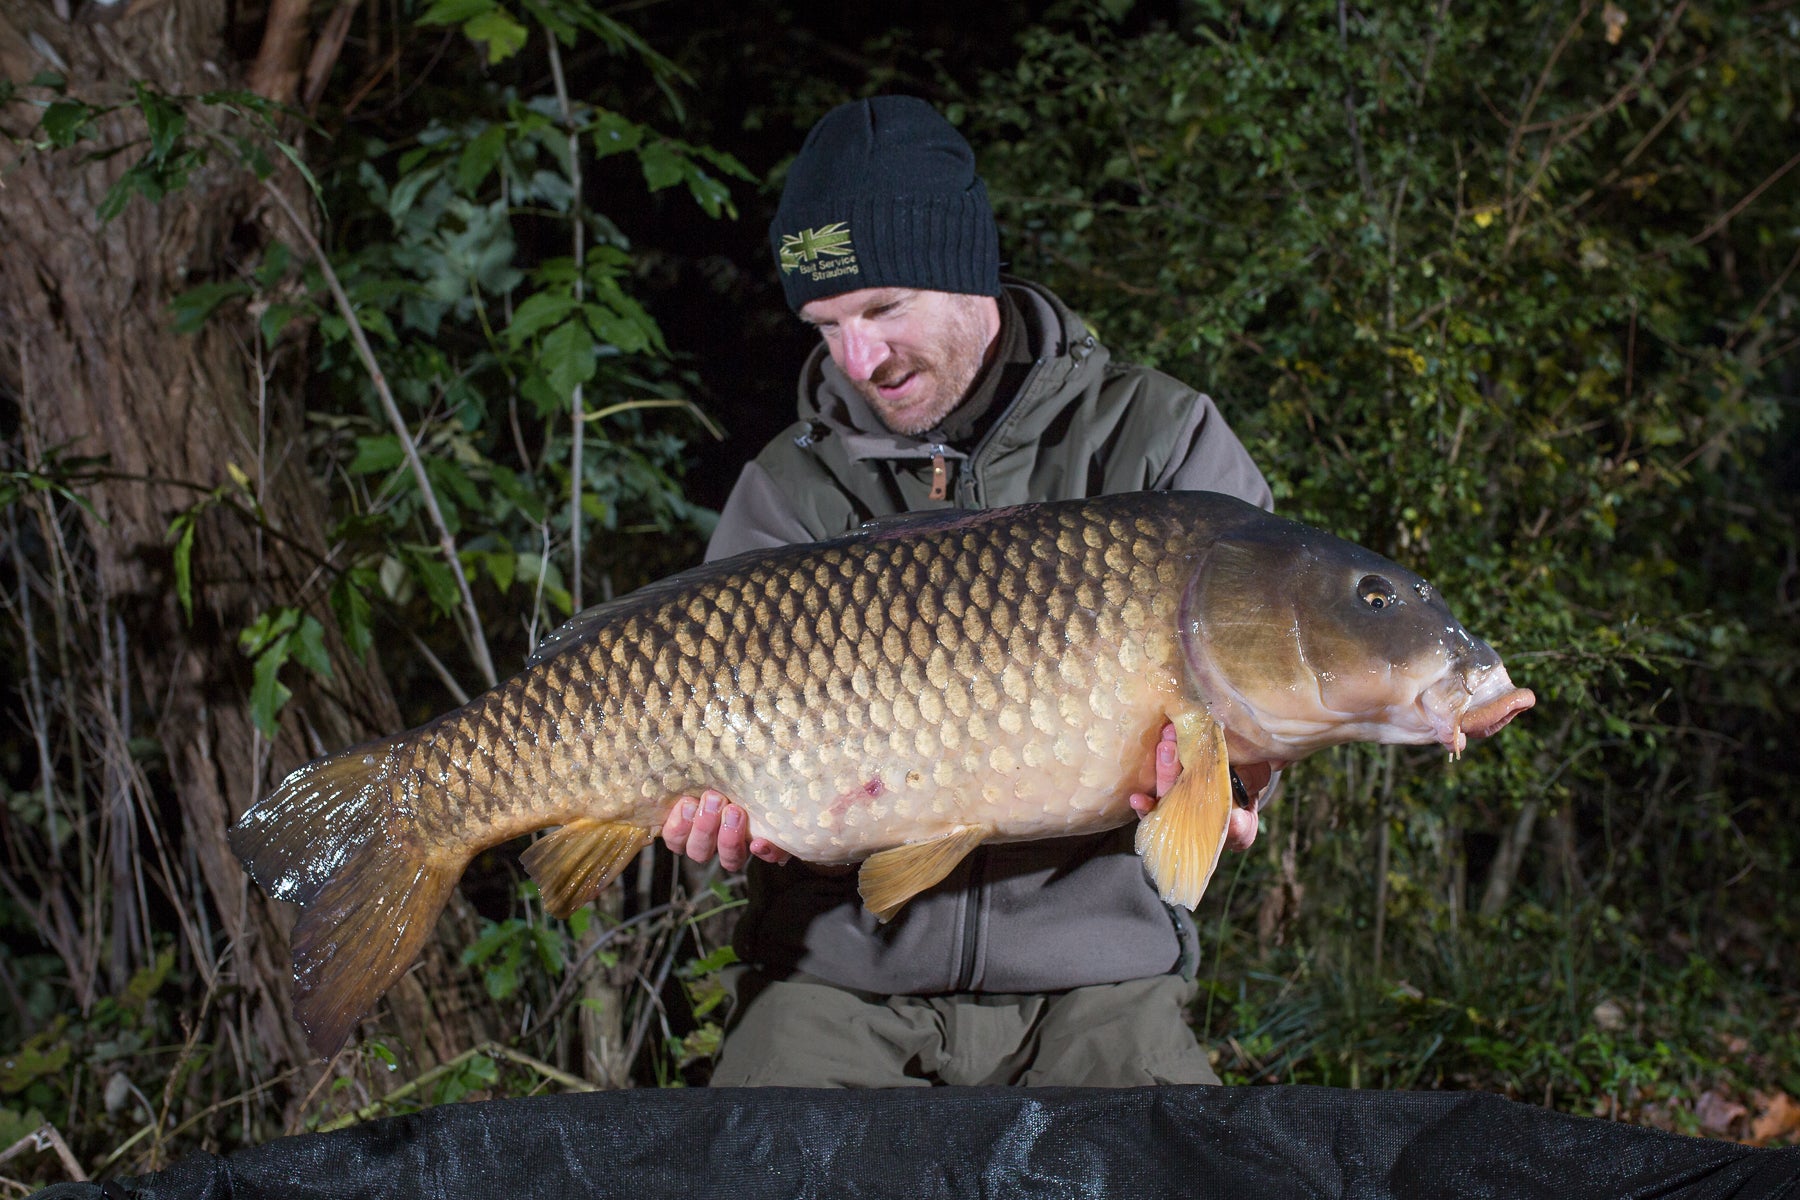
Similar than during daytime a good catch photo at night is also largely dependent on the background of the shot. One thing, however, is completely different at night: You don’t search for a glorious view that is then just dark anyway but for some interesting structure in front of which you can nicely present the fish. A background that is directly behind angler and fish will be lightened by the remaining flashlight that is predominantly set to illuminate the fish.
The routine for a catchphoto at night is something like this: After netting, the fish is placed on the retainer sling (models with buoyancy bodies, a wide opening and fishskin-friendly material are to be preferred) that is lying opened and already wet on the unhooking mat. After weighing, the fish in the retainer sling can be put back into the water with the cord of the sling safely attached to the bank. If you do not weigh, you can also just leave the fish for a moment in the landing net. Now you can take ten to fifteen minutes to prepare everything for the photographing. In this short time frame the fish won’t suffer a lot of stress and it also won’t recover completely. This means that it doesn’t become too fit again and be shaky while photographing but can breath after capture before it is held again out of the water.
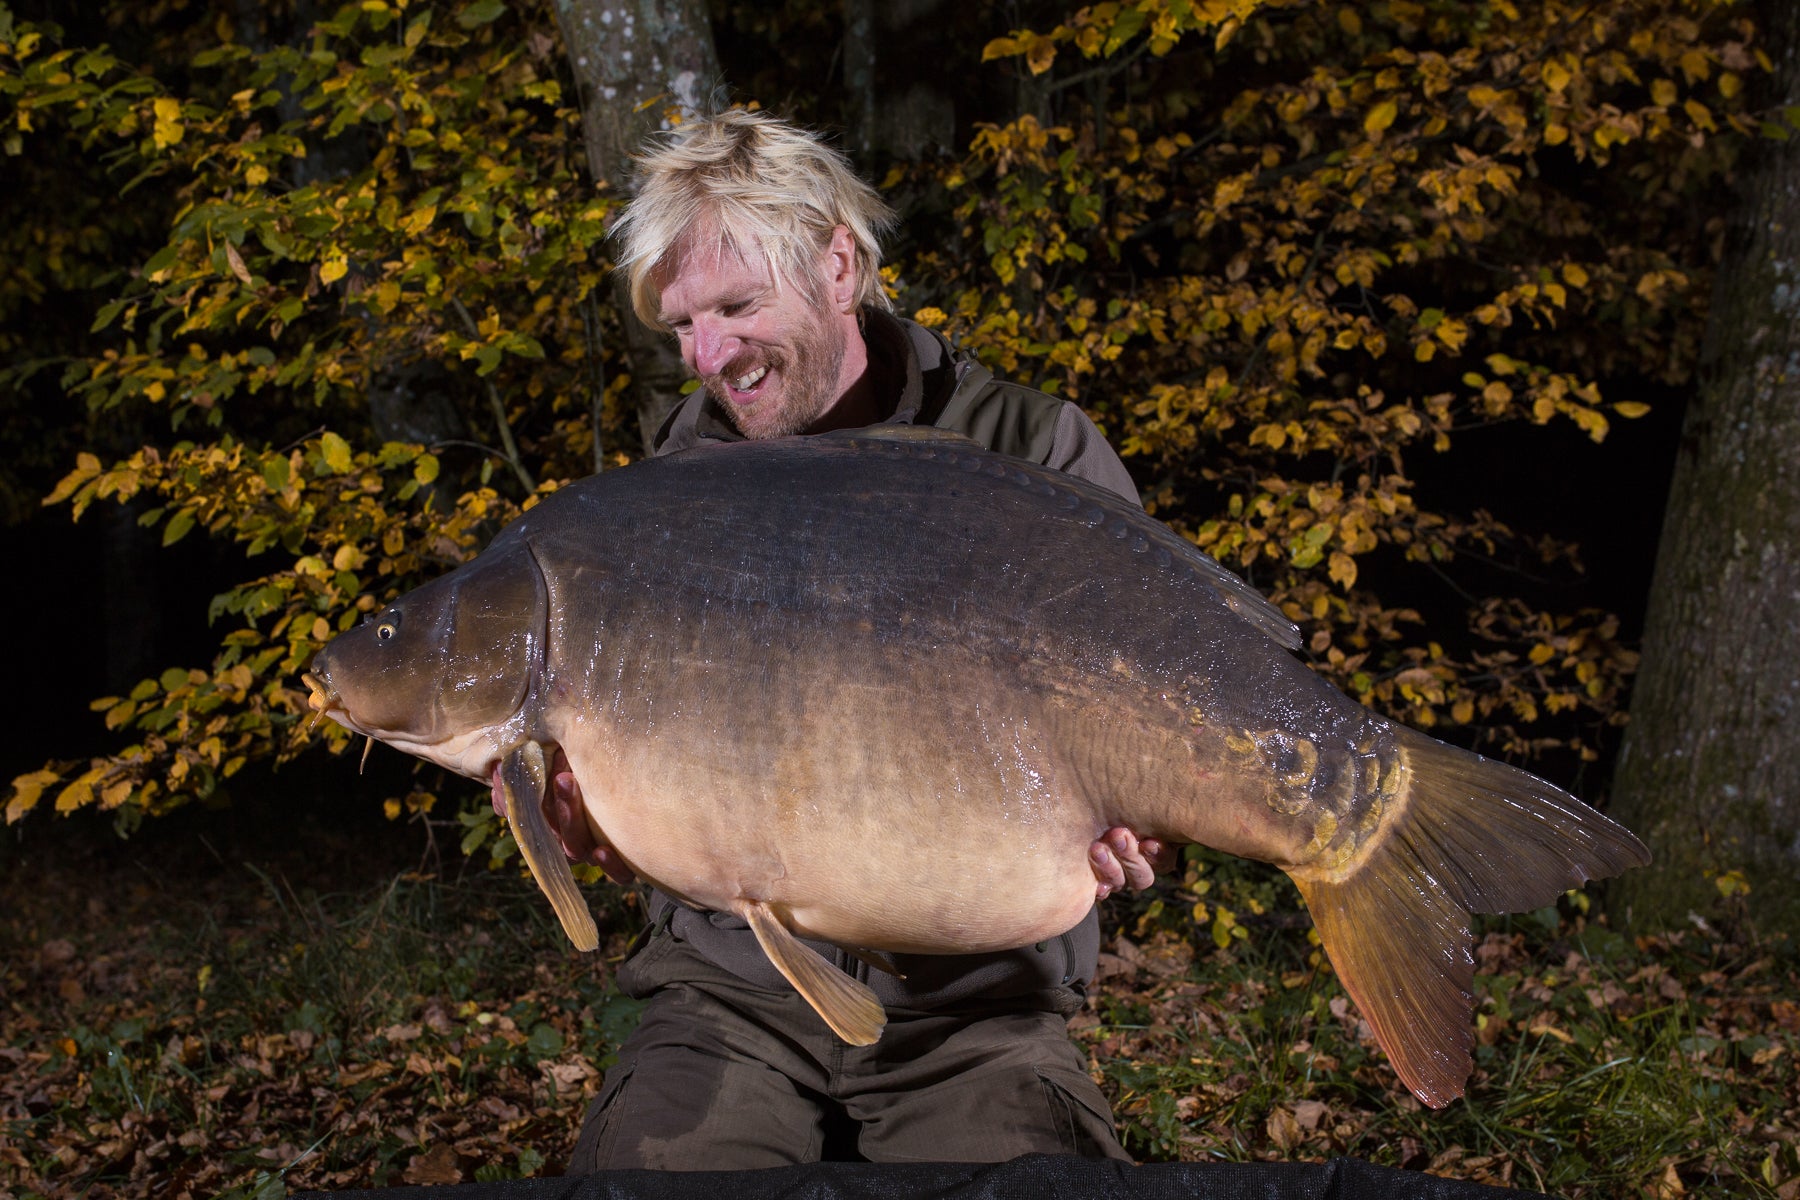
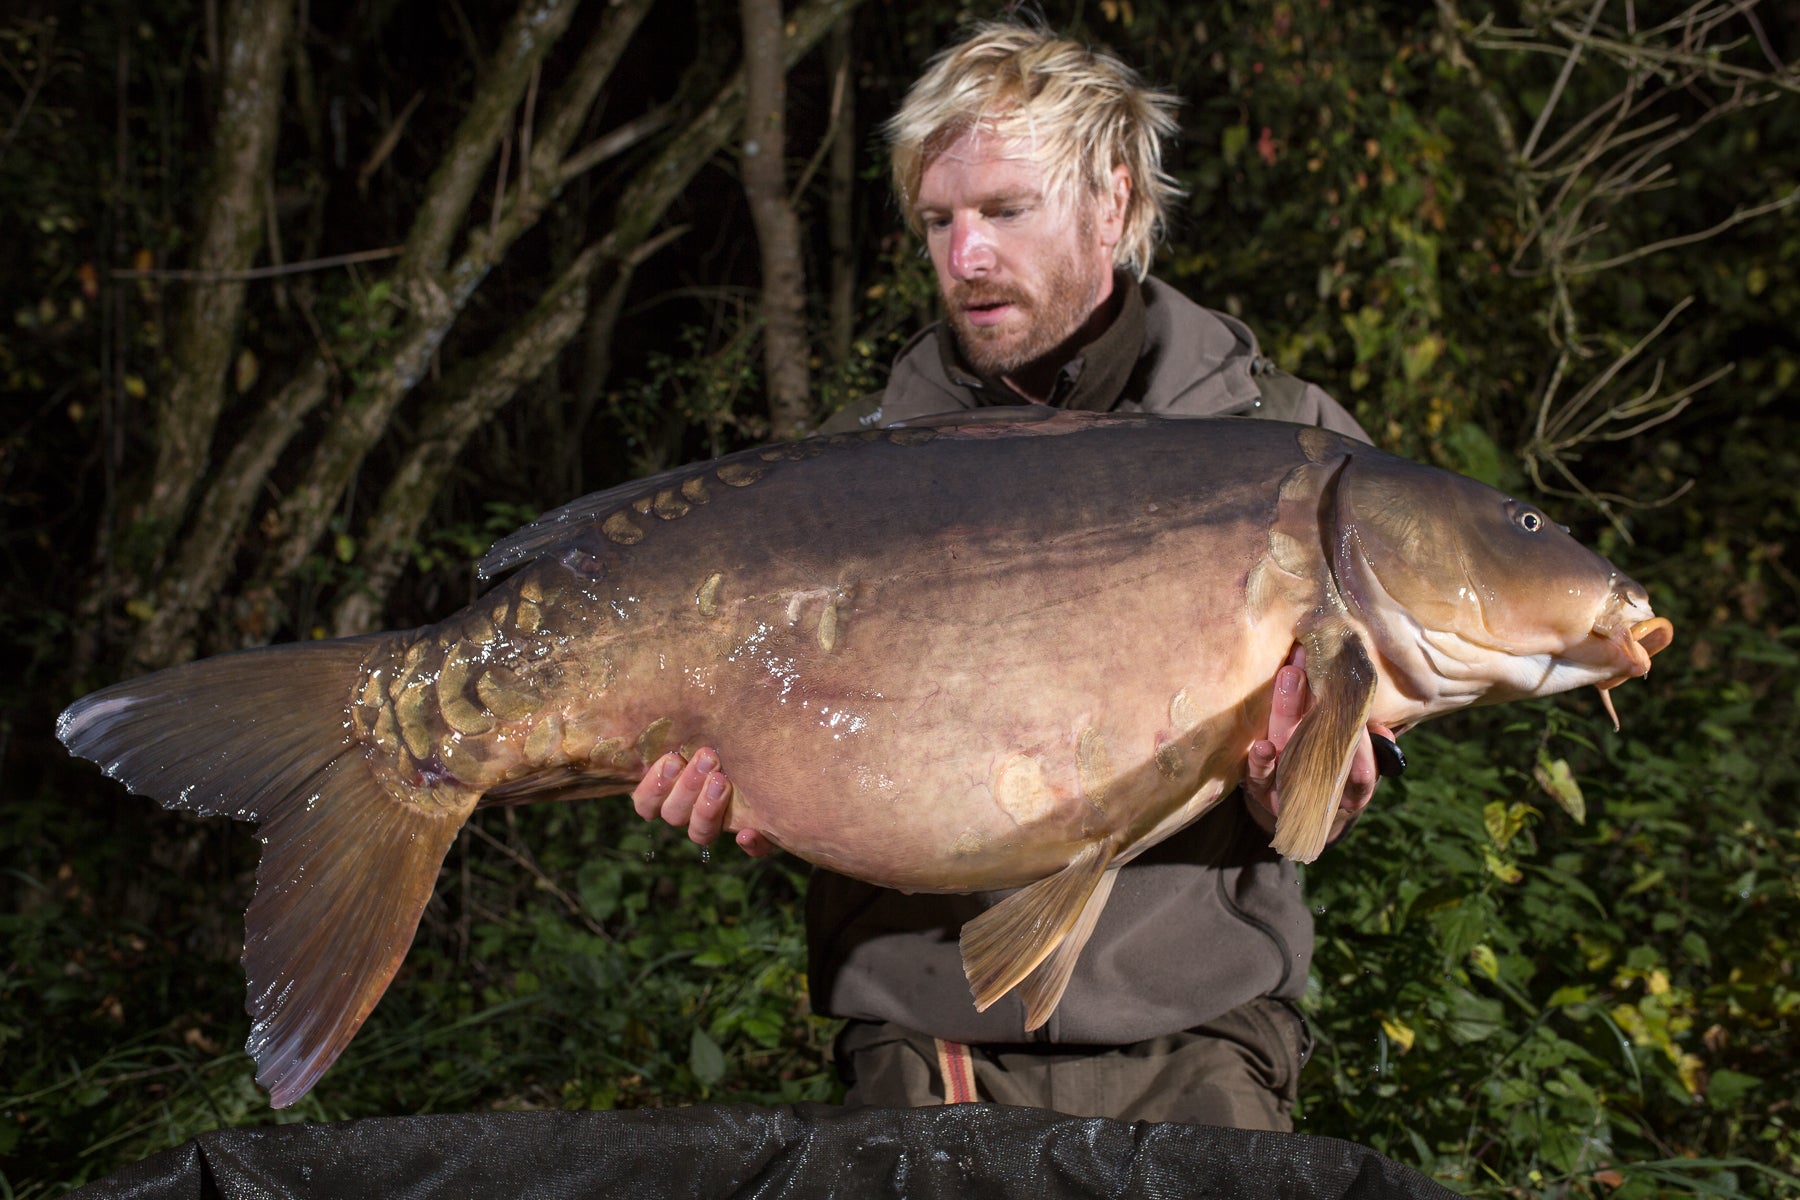
In these fifteen minutes there is time to search the right background. A bush, rock, graffiti wall, bagger or reeds: it’s all fine as long as there is a flat square metre in front of it to safely position the unhooking mat. If you look for perfection the best possible background provides a lot of structure, depth and three-dimensionality. The branches of a fallen tree, for example, will look much more interesting than just a monotonous hedge. According to whether you use solely the internal flash, a bigger plug-on flash or several external flashes you choose the distance of the fish presentation in front of the background. Less light means less distance and the range can vary from one metre (internal flash) to five metres when you choose external flashes that enlighten both, fish and background. A larger distance allows getting a bit of a blurry background (bokeh) giving the shot a bit more depth. Really, the choice of background is all-important and half the battle of a good trophy shot at night.
After the correct adjusting of the camera setting (check part 1) you can get started right away. If external flashes are used, these need to be placed with banksticks or tripods. This is also quickly done and every time the similar procedure. External flashes are best aligned in an angle between 0° (that would be the prolongation of the direction of the fish) and 45° to the head or caudal fin of the fish (90° would mean orthogonal alignment to the fish body). The distance of the external flashes may then vary between three to five metres to the fish, which could mean that they are further away than the camera itself.
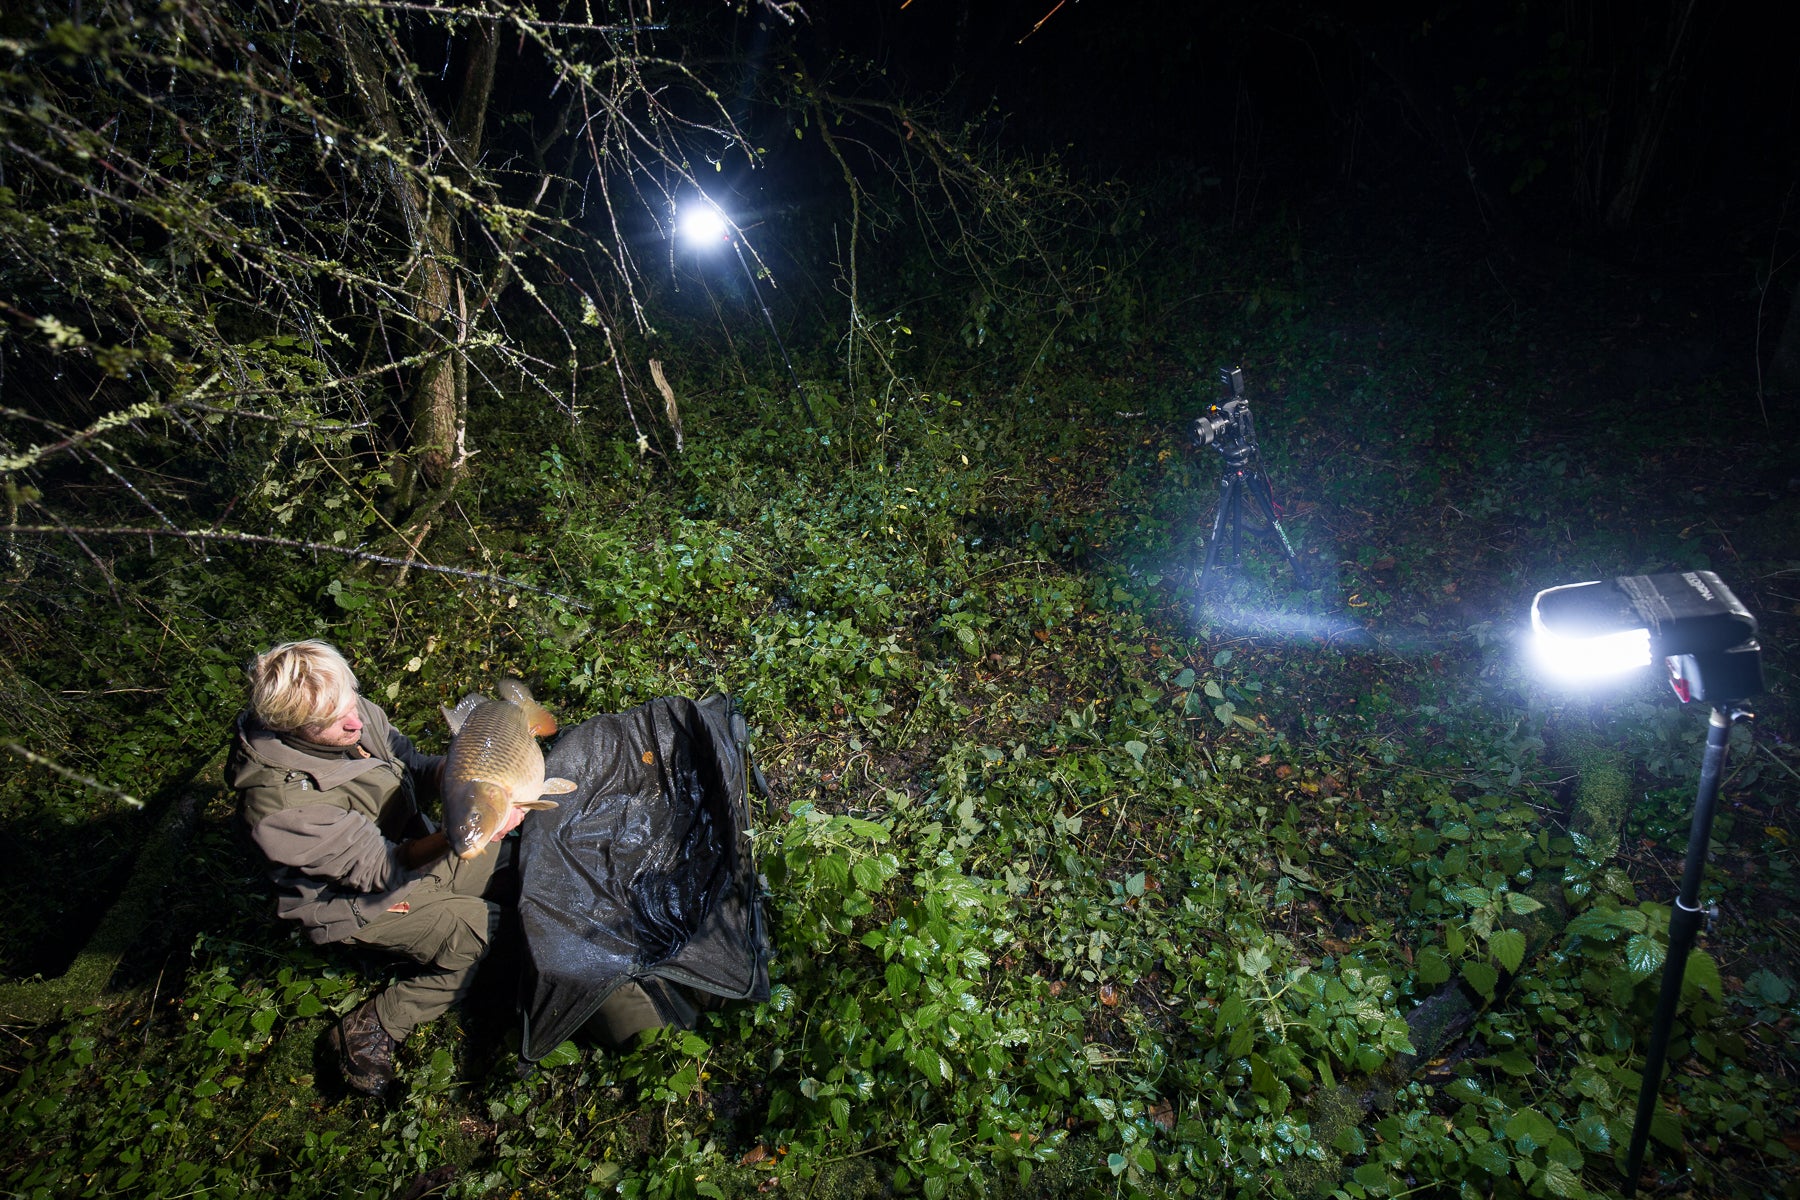
A single external flash (slave) is preferably positioned towards the head of the fish. This causes less reflection on the fish and in general the fish also looks more impressive. A possible second external flash may point towards the tail and/or the background. The master flash that comes directly from the camera (the integrated flash or a third big flash that is mounted on the camera) may then be down-regulated a bit in the flash menu of the camera which gives a more interesting and more evenly distributed light.
That’s about it for the practical part. With some routine you will get quicker and quicker with your night shots. Another part of the game of today’s photography is post-processing of the shots. This may only be interesting for people that want to tap the full potential of the photo and get the best possible result. The (becoming) perfectionist shooting in RAW (non-compressed photo file) and willing to smoothen out some mistakes of the illumination is well-advised to use Adobe’s Lightroom. Lightroom is easy to understand, really powerful and on top of that also absolutely affordable (around 110 € for older versions, the newer versions, however, you only get with monthly subscription).
Regarding your trophy shots at night you do most of the work with only three simple settings:
1) Exposure: Not every photo at night is perfectly exposed. The TTL measurement of the flash (see part 1) is as fallible as the manual setting of the flash power. In most cases a photo turns out to be a bit too dark. This lies in the nature of a catch photo at night. It is very difficult to find the right balance between the exposure of a fish with a wet and reflecting skin that is much closer to the camera and the dark and mostly non-reflecting background. Still, a photo that is too dark is much easier to improve than a photo that is far too bright. Just up-regulate the exposure a bit from 0 to maximum +2 and the result will quickly improve. There are limits, however, as you will see when you tune exposure so high that the overall image quality is reduced. Anyway, a photo at night is better a bit too dark than looking like its made during daytime.

2) Shadows: A photo that is well exposed but has a too dark background can be improved by up-regulating the shadows. This is the case with 99% of catch photos at night. If the fish is perfectly exposed, the background will be too dark. No problem though, by up-regulating the shadows between 0 and +80, the exposure of the fish won’t change a lot but the background is much better showcased. You will find the right level of regulating the shadows between a background that is just bright enough giving the shot the nightly feeling and an image noise that is hardly visible. You can see image noise in the shadows when reddish and large pixels appear in the previously too dark areas. There was no problem at all on the Lightroom screen shot example above. The bright rock nicely reflected the flash light and shadows were up-regulated only by +24 (even less would have been possible, the shot looks almost a bit too bright).
3) Highlights: The „highlights“ fader can reduce disturbing glance and reflections that mostly occur on the skin of the fish. This works pretty well but also reduces the glance that comes from the background and darkens it. Lightroom offers an alternative to the fader: the adjustment brush allows the application of only local adjustments. The adjustment brush can be found between the histogram and the “Basic” settings and looks like a pin. With this tool local adjustments can be made with a size- and edge-adjustable circle that offers the most important adjustments.
After marking the shape of the fish or the areas on the fish that need adjustments with the “brush”, you can reduce the highlights, increase the contrast or give a bit of clarity and so on. But don’t exaggerate, the photo should always remain natural and the changes mainly made to improve some flaws of the shot.
Another interesting possibility is to change the white balance (WB) by adjusting colour temperature and tint. Sometimes the automatic white balance is not like you want it to be. A photo can be a bit too blue or too yellow and you might want to change this. Instead of the white balance “as shot” you can choose a standard white balance for “flash” or customise it to a colder (bluer) or warmer (yellower) colour temperature. This might be of help when for instance LED videolamps are used with a very blue or very yellow light colour.
Lightroom also offers the possibility of automatic photo improvement (“Auto”). You find this option directly under the white balance. It is not bad at all but in generally makes photos much too bright. Practically every time you have to down-regulate the exposure to a more normal level. You also cannot rely on the “contrast” changes it generates. If you are not sure about the contrast level, just keep it at 0 but you can also down-regulate it for a nightshot to -25 when the shadows are really too dark.
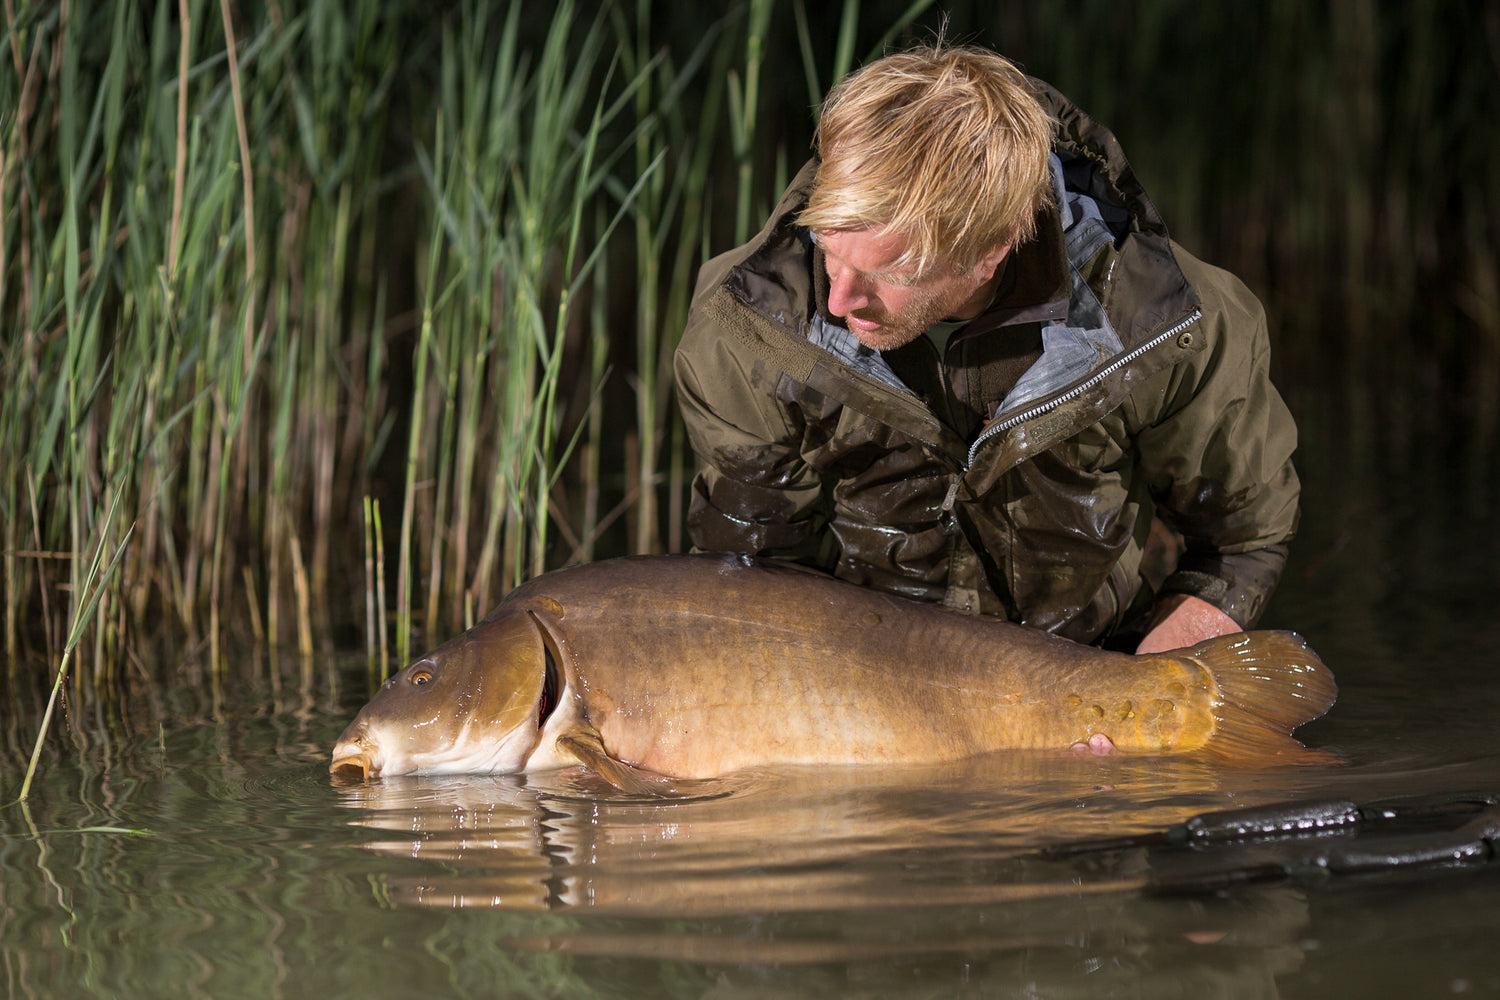
I just hope that this last part of the two articles did not confuse too much because of the information about post-processing. Because it’s not really necessary. The right camera and flash settings allow a close to perfect shot “out of the box”. The most important messages of the articles, however, should be clear: 1) you don’t need to keep a carp in a sack over night and 2) photos at night have their own and special charm. Just give it a try. I know it can be really difficult to overcome your weaker self at three o’clock during a very cold night. However, you also might enjoy the awake moment. Quiet peacefulness, dark coldness and the adaptation to it, I think, is an enjoyable part of carpangling. And when the beautiful fish gently slips back into the black water, you might feel that you did well and become happy knowing that the fish is safely back in its environment.
Alexander Kobler

Leave a comment
All comments are moderated before being published.
This site is protected by hCaptcha and the hCaptcha Privacy Policy and Terms of Service apply.